Project structure
The quickest way to build an extension project is by using the CloudBlue Connect CLI.
Open your terminal and use the following command to bootstrap a new extension project:
$ ccli project extension bootstrap
This command will launch a wizard that will help configure your extension:
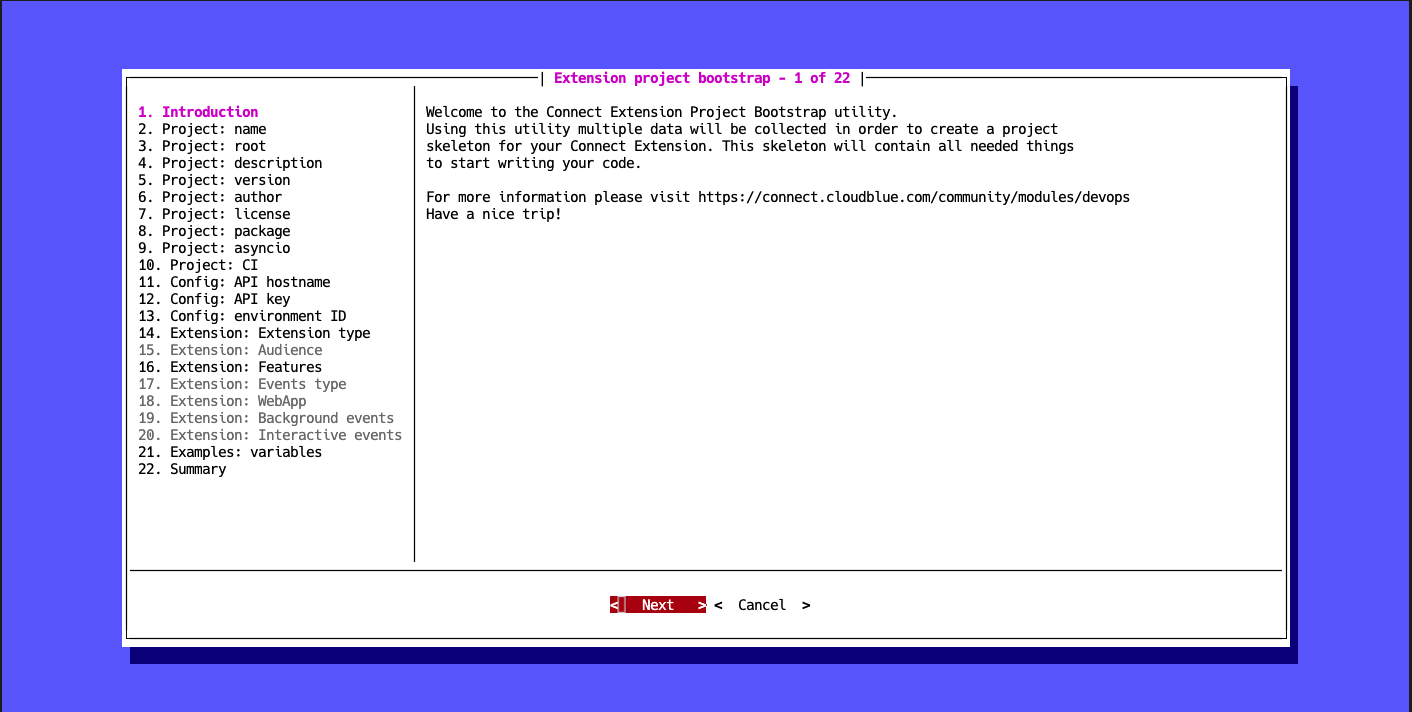
Once this wizard finalizes the bootstrap operation, a directory with the following structure will be created:
.
└── <project_root>
    ├── <package_name>
    │   ├── __init__.py
    │   ├── extension.json
    │   └── ...
    ├── tests
    │   ├── __init__.py
    │   ├── conftest.py
    │   └── ...
    ├── .git
    ├── .gitignore
    ├── LICENSE
    ├── README.md
    ├── CHANGELOG.md
    ├── HOWTO.md
    ├── docker-compose.yml
    ├── Dockerfile
    ├── poetry.toml
    ├── pyproject.toml
    └── ...
Project root content
The following describes the content of your generated project root folder:
- README.md: This file is intended to provide a description of your extension project. It is
used by the
pyproject.tomlfile to add a description to your python package and will also be renderered on the main page of your git repository in various git hosting services. - CHANGELOG.md: This file is used to track changes between versions of your extension.
In case your
Multi Account Installationextension is published in the Connect Showroom Catalog, your changelog will also be rendered in the Catalog. - HOWTO.md: Provides useful information about basic tasks related to the development of your extension.
- LICENSE: This file represents your specified agreement of the open-source licence for releasing your extension.
- poetry.toml: This file is used to disable the creation of a Python virtual environment when using Poetry. The creation of a virtual environment is disabled since extensions are developed inside a docker container by default.
- .gitignore: A default file that helps avoid commiting unsupported files within the git repository, such as
pycfiles,coverage.xmland so on.
The Connect CLI can also be used to deploy your extension project. Note that your extension can be deployed in the Cloud mode and hosted on a git server accesible through the internet, hence the presence of a .git directory.
pyproject.toml
The root folder of your extension project should include a pyproject.toml file. This will be used by
Poetry to build a package of your extension.
It is required to use this file to specify both runtime and development dependencies for your extension. Such specifications should also include an entrypoint for each type of your implemented applications.
The bootstrap wizard provides the runtime dependencies to this file. Specifically, connect-eaas-core and other suggested development dependencies for testing and linting your code. Moreover, the wizard also adds all required entrypoints for your selected applications during the bootstrap operation.
Info
Entrypoints must be declared in the [tool.poetry.plugins."connect.eaas.ext"] section with the following structure:
"application_type" = "path.to.package:ApplicationClass"
One application type can only have one entrypoint class.
Available application types are eventsapp, webapp and anvilapp.
docker-compose.yml
Developing and deploying your extension by using Docker is not mandatory, but it is strongly recommended.
The bootstrap wizard generates a default docker-compose.yml and Dockerfile for your extension.
The docker-compose.yml defines three services named after your extension plus the following suffixes:
- _dev: This service is used to run your extension locally.
- _bash: Allows accessing your extension container in bash for development and testing purposes.
- _test: Runs the linter and the unit tests suite.
Dockerfile
The Dockerfile allows building an image with provided python (and optionally node.js) dependencies.
It works with the Connect Extension Runner image that is based on the python 3.10 slim
image. It also includes node.js runtime version 16.*.
Python package
The python package contains the extension.json descriptor file and your application entrypoints:
- anvil.py: This file and its corresponding
anvil application entrypointclass are present in case theAnvil Applicationoption is selected during the bootstrap operation. - events.py: In case the
Events Applciationoption is selected, the CLI tool generates theevents.pyfile and adds theevents application entrypointclass with an event handler for each event you selected while working with the bootstrap wizard. It also adds an example handler for working with schedules. - webapp.py: This file and the
web application entrypointclass are present if theWeb Applicationoption is selected during the bootstrap operation.
Info
Specifying entrypoint names is not mandatory. However make sure that your required entrypoints are added within the same directory that contains the extension.json file.
Tests package
The Connect CLI allows streamlining your test operations by using pytest.
Consequently, you can find a tests package and default conftest.py
with pytest fixures that enable to test your extension code.
Depending on your selected application types, the following files will be present:
- test_anvil.py: Contains examples on how to test your
Anvil Application. - test_events.py: Examples on how to test your
Events Application. - test_webapp.py: Examples on how to test your
Web Application.
Web Application with UI
In case of creating a Web Application that is embedded in the Connect UI, the following additional files and directories will be
created:
.
└── ${project_slug}
    ├── ui
    │   ├── pages
    │   │   ├── index.html
    │   │   └── settings.html
    │   ├── src
    │   │   ├── components.js
    │   │   ├── pages
    │   │   │   ├── index.js
    │   │   │   └── settings.js
    │   │   ├── pages.js
    │   │   └── utils.js
    │   ├── styles
    │   │   └── index.css
    │   └── tests
    │       ├── components.spec.js
    │       ├── pages.spec.js
    │       └── utils.spec.js
    ├── __mocks__
    │   ├── fileMock.js
    │   └── styleMock.js
    ├── babel.config.json
    ├── jest.config.js
    ├── webpack.config.js
    └── package.json
Info
UI artifacts will be generated within the static folder of your extension python package.
Note
The Connect CLI will generate an example UI written with vanilla JavaScript.
You can use Vue.js, Angular, React or any other Web framework. The Connect UI Toolkit is a
framework agnostic library, and thus it can be used with any framework of your choice.
Warning
UI generated artifacts must be places in a folder called static and this folder must be placed
in the same folder where your Web Application entrypoint module is located.
For cloud execution of your extension, the content of the static folder must be commited
within the git repository since in the cloud mode your UI artifacts are copied to a blob storage and
served from there.
package.json
This file contains the configuration that are necessary to handle your UI development by using node/npm.
It declares both runtime and development dependencies as long as the following scripts (that can be called using npm run <script_name>) are present:
- build: runs webpack to produce UI artifacts.
- watch: watches for changes to your UI source files and rebuilds them if these files are changed.
- lint: launches the linter to analyze your code.
- test: runs your tests suite by using jest.
The Connect CLI will also add the Connect UI Toolkit library and
the roboto fonts as runtime dependencies.
webpack.config.js
This file contains default webpack configuration to build your UI artifacts. By default, css and js files are minifed. It also injects corresponding scripts and css dependencies into your html files.
babel.config.json
This file contains default configuration for babel that allows using ECMAScript 6 modules.
jest.config.js
This file contains default configuration for Jest testing framework.
ui folder
The ui folder will contain your UI source files as long as your tests specs.
Info
- Applications are stateless
- UI is served by a blob storage for the cloud mode