Multi Account Installation
This quickstart tutorial showcases how to create a Multi-Account Installation extension project by using
the CloudBlue Connect CLI tool.
Requirements
Make sure that the following prerequisites are met:
- Python (3.8, 3.9 or 3.10) is installed
- Docker is installed
- The latest release of Poetry is installed
- Latest release of Connect CLI is installed
- A distributor, reseller, or vendor account on CloudBlue Connect is required
Prepare your Connect account
It is required to generate an API token and add your distributor or reseller account via the CLI tool.
Create a new token by using the Connect interface:
- Navigate to
Integrations->Tokens. - Click the
+ Create Tokenbutton. - Proivde a
name,descriptionand an optionalexternal idfor your token. - Next, choose
Custom Integrationfrom the extension list. - Select required permissions for your token, at least the
DevOpsoption should be selected. - On the summary screen, click
Go To Detailsto access your token details. - Click the button to copy your token.
Next, open your terminal and run:
$ ccli account add "<your copied token>"
Note that <your copied token> must be replaced with your generated API token.
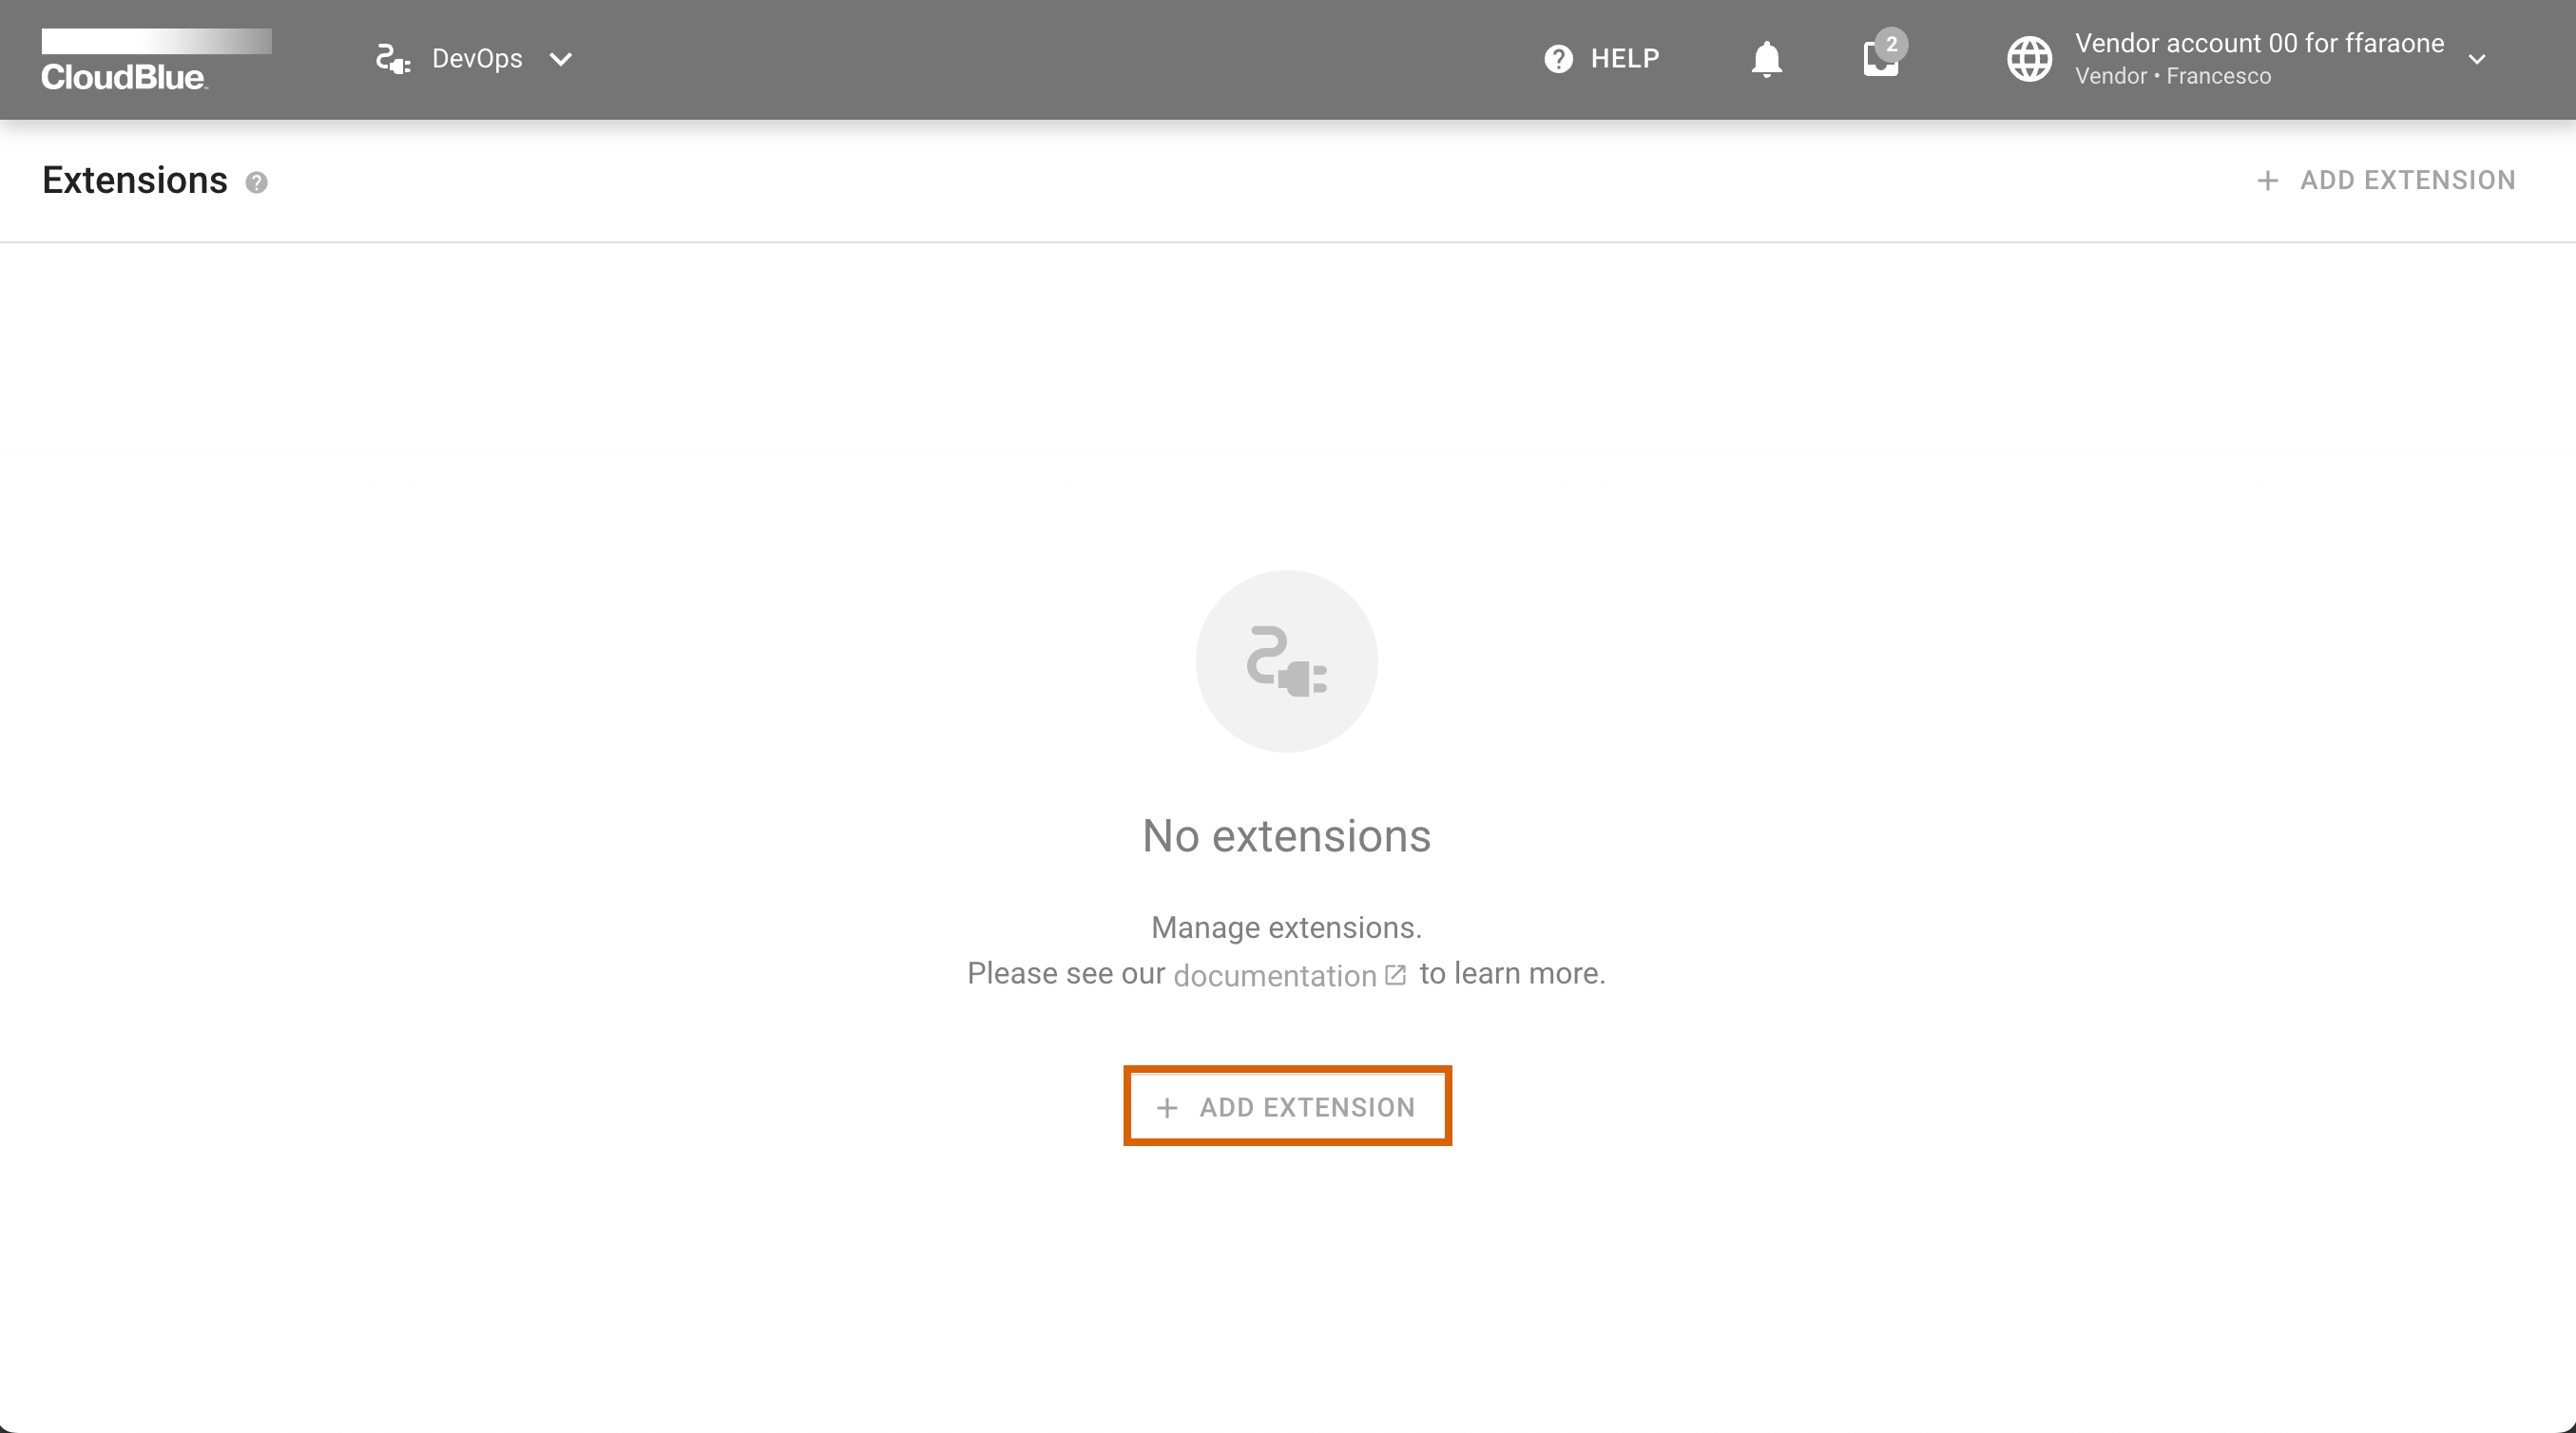
Create an extension in DevOps
Use the DevOps module on the Connect platform to create a Multi-Account Installation extension:
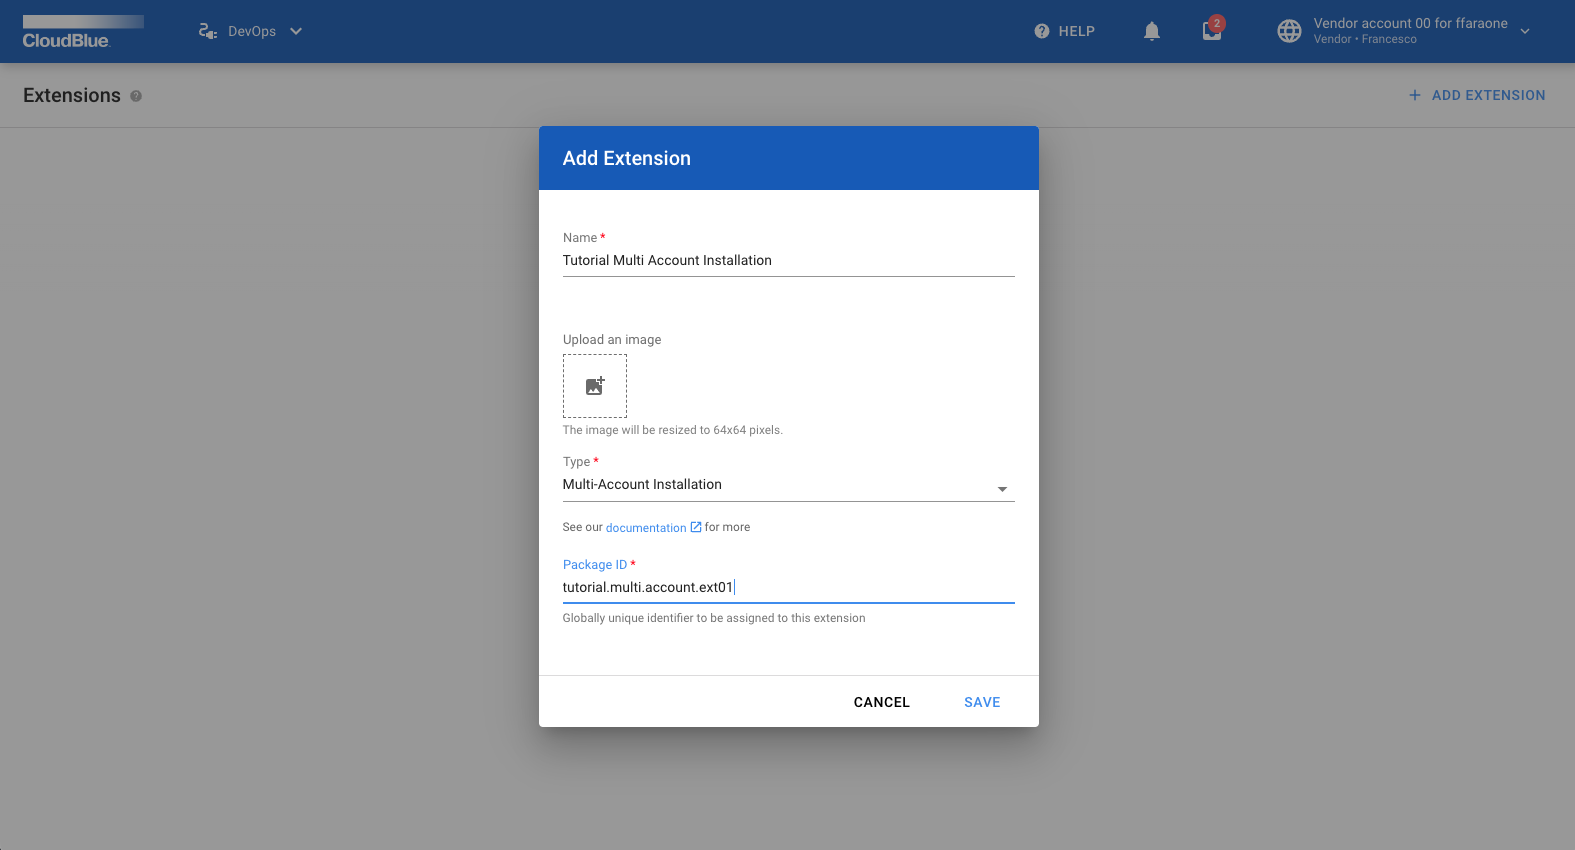
1) Click on the + Add Extension button to start configuring a new extension object.
2) Provide your extension name, enter your package ID (e.g., connect.test.package) and click Create.
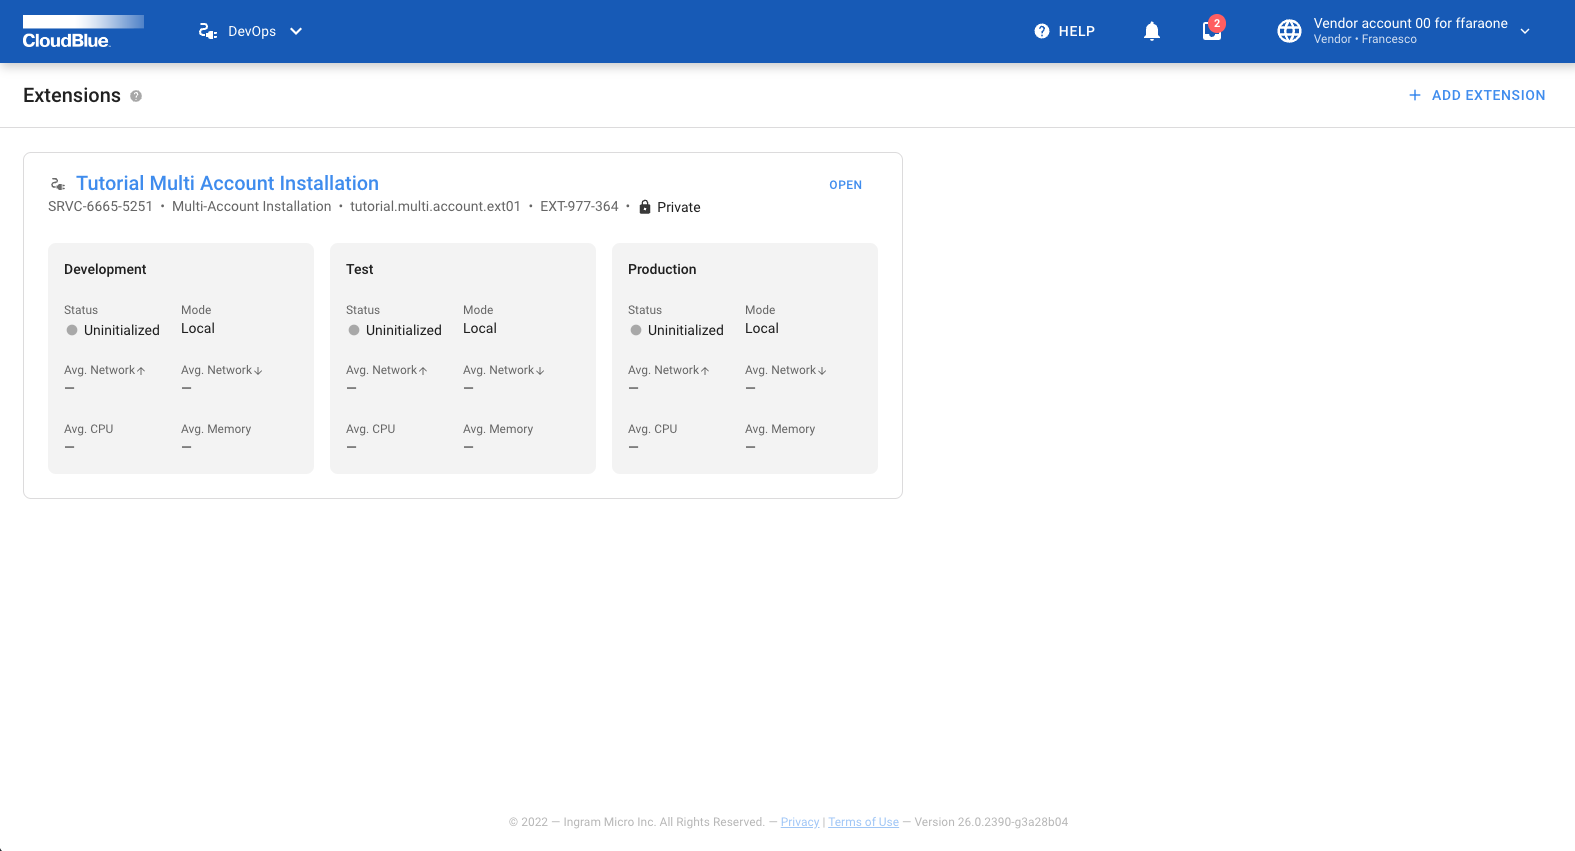
3) Click the Open button to access the details page of your created extension.
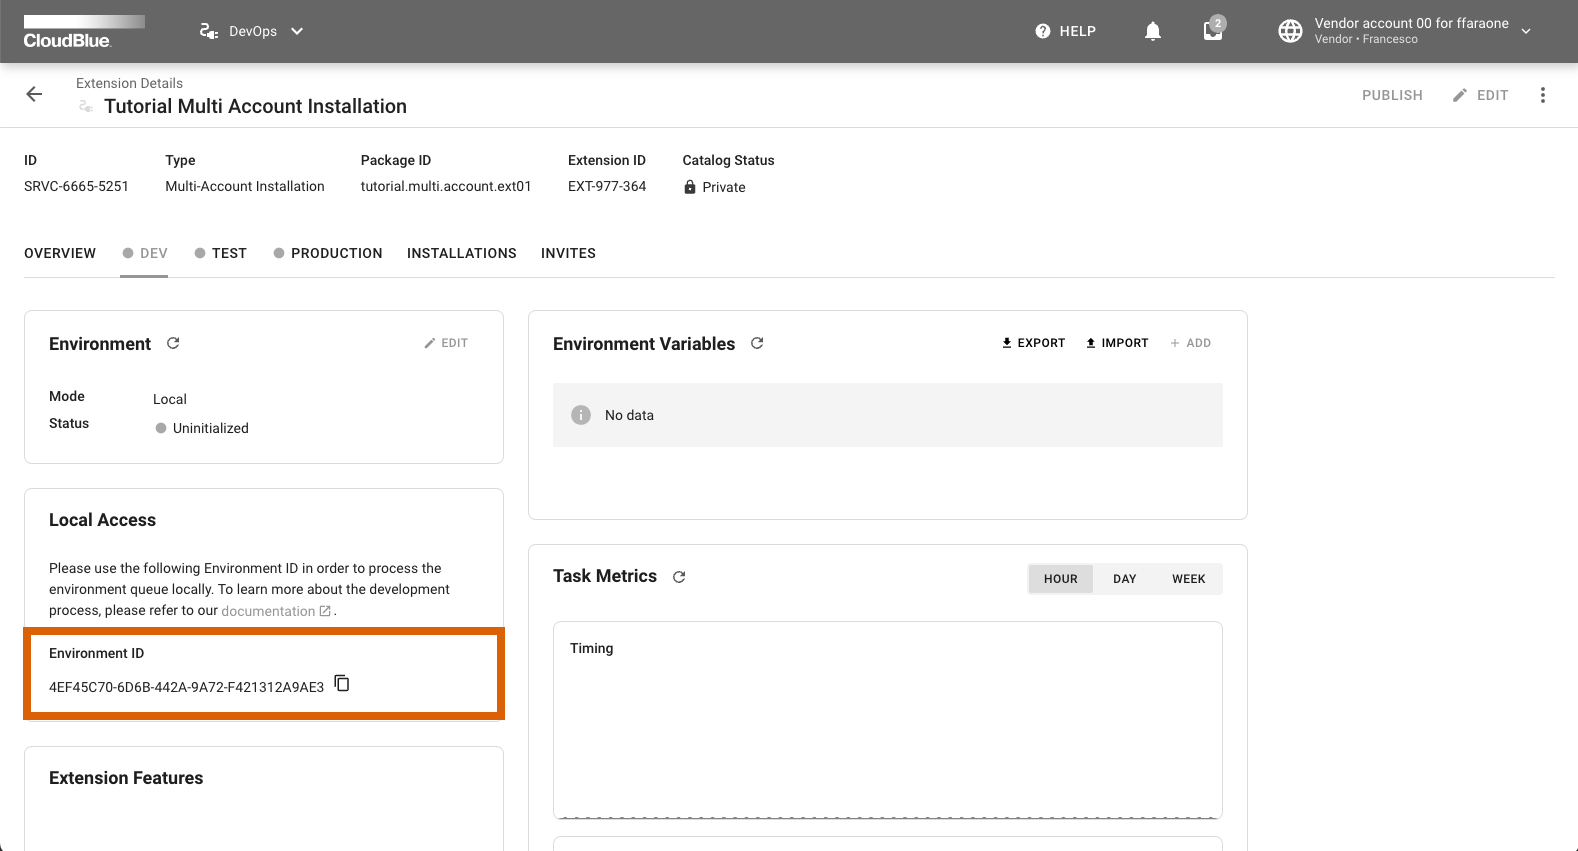
4) Locate the Local Access widget and click on the button to copy your environment ID.
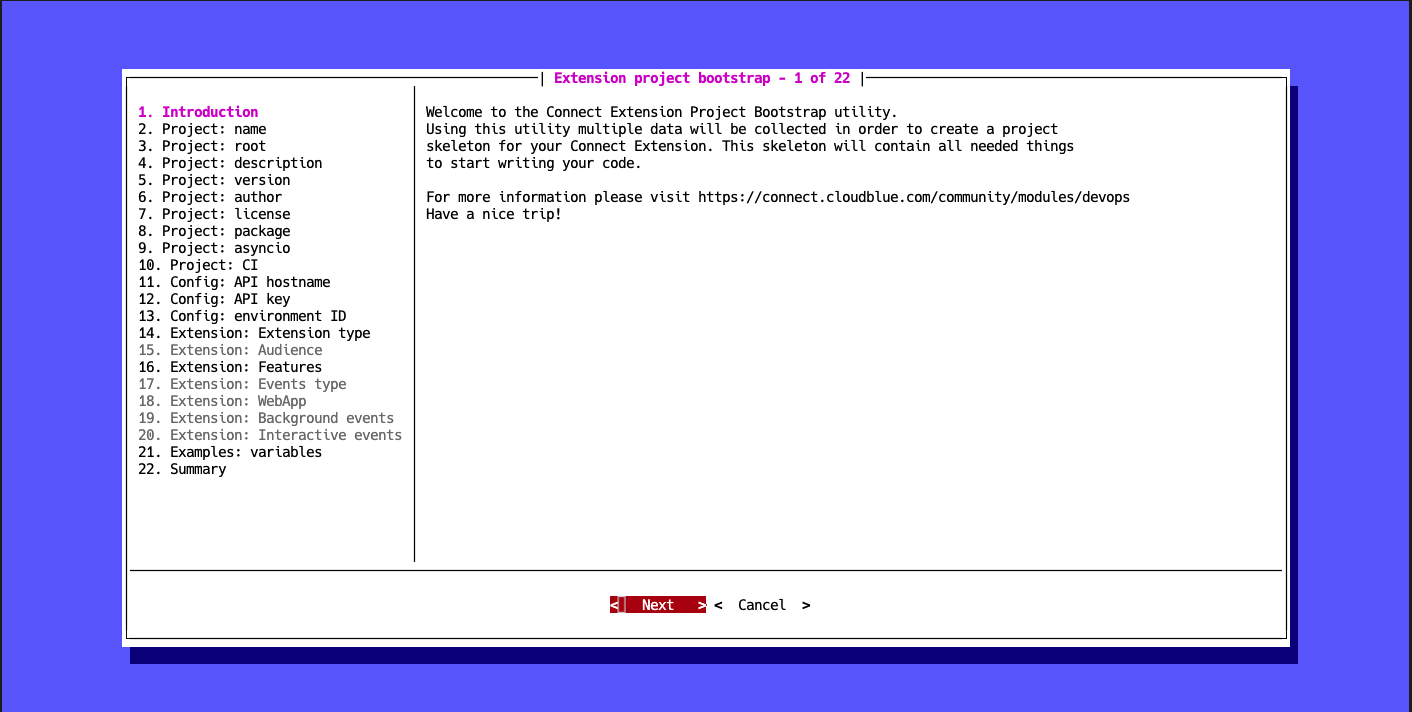
Run the Extension Project Bootstrap wizard
To run the wizard run in your terminal:
$ ccli project extension bootstrap
The welcome screen will be shown:
Name your extension
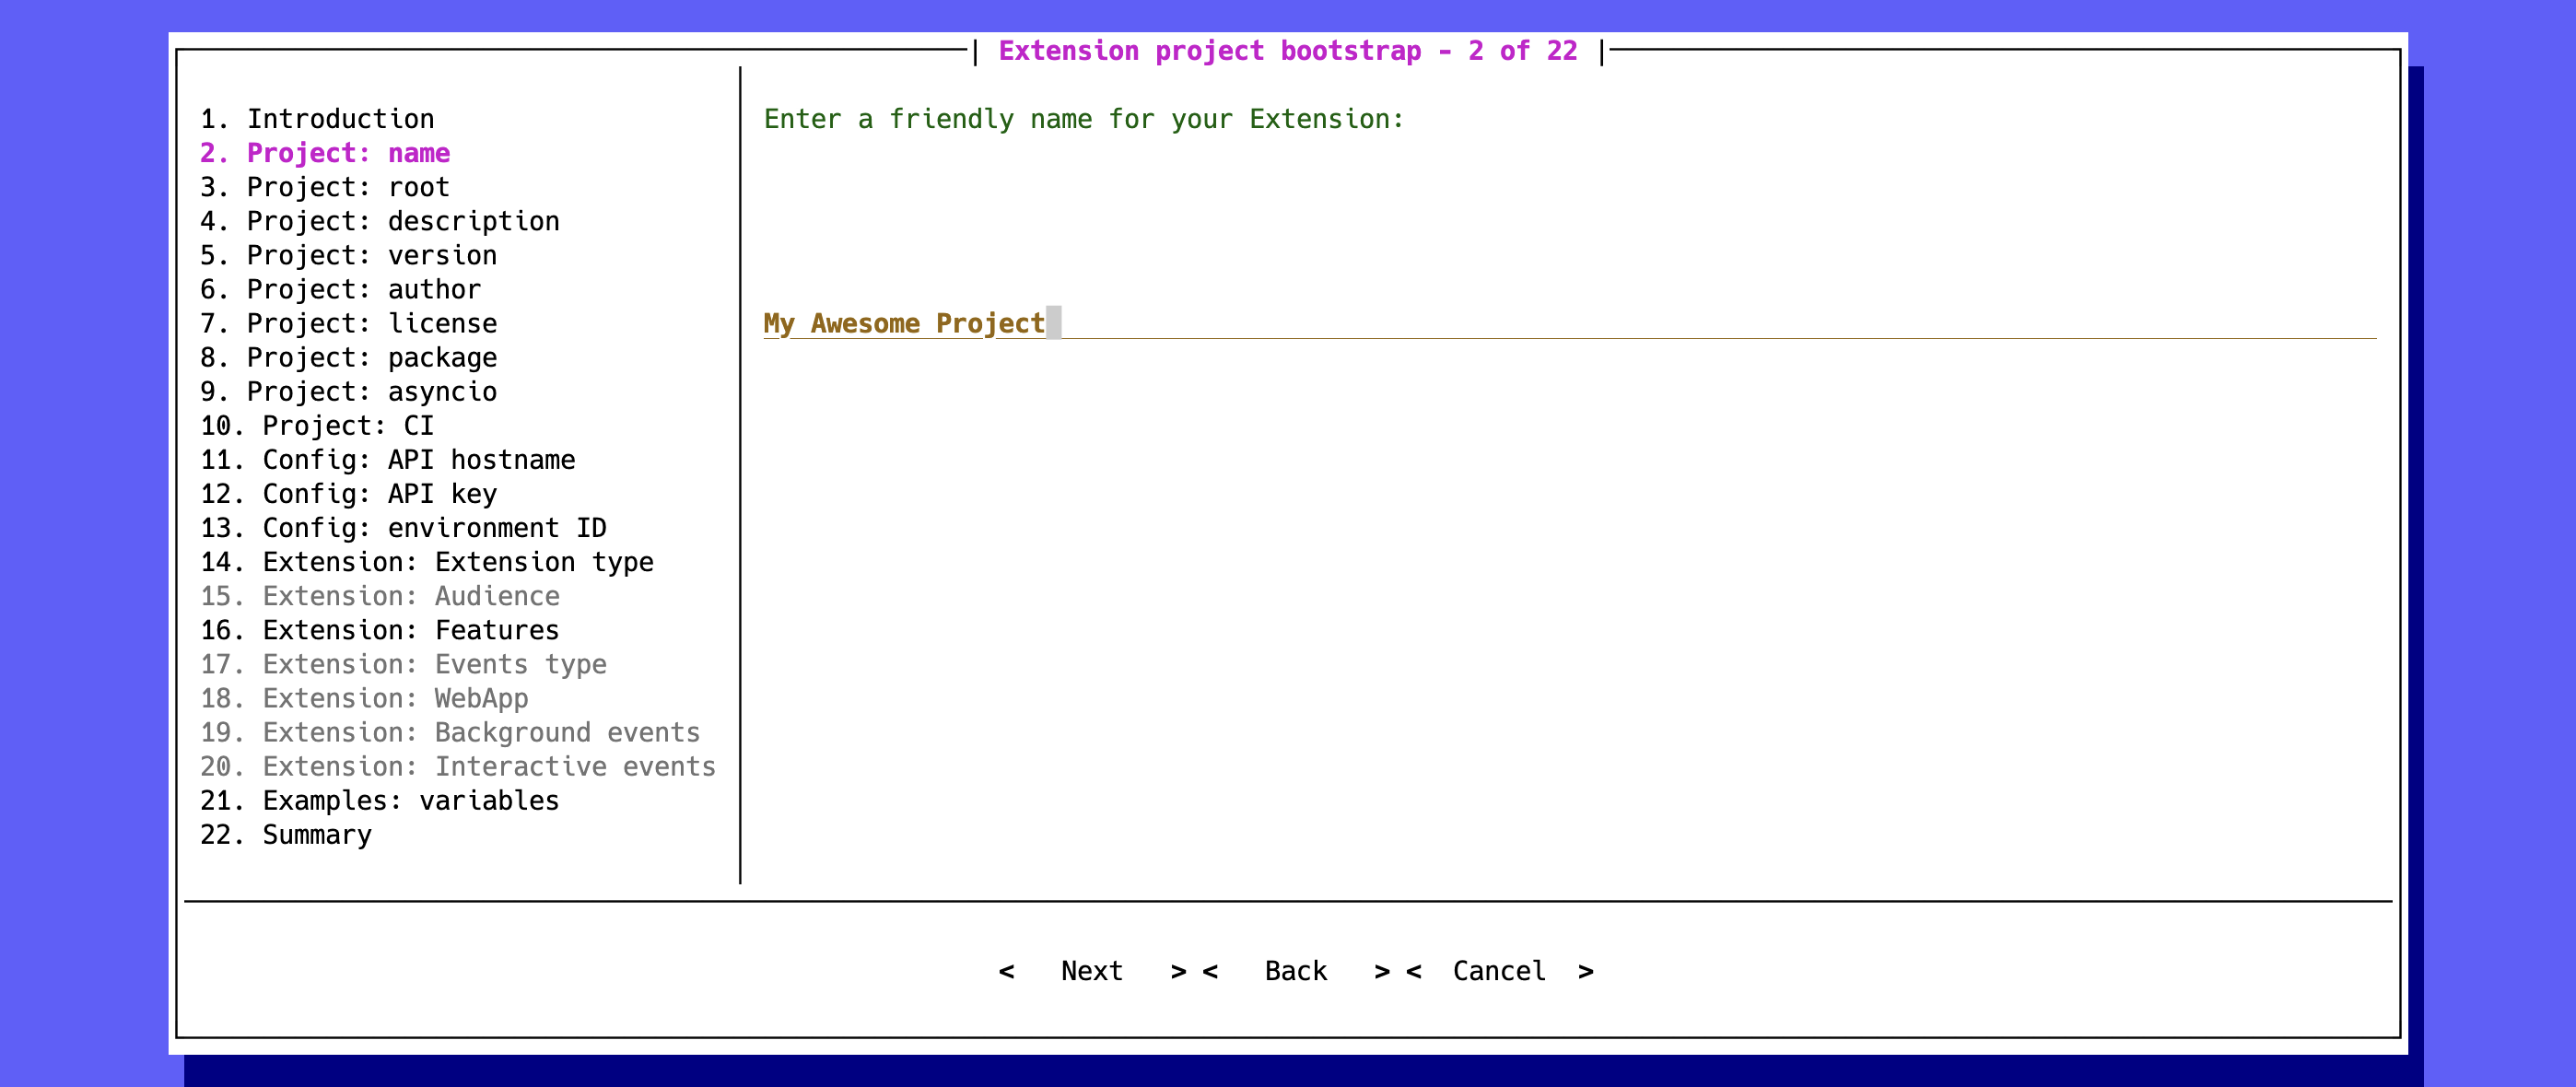
Your provided extension name will be used for packaging metadata.
Project root folder name
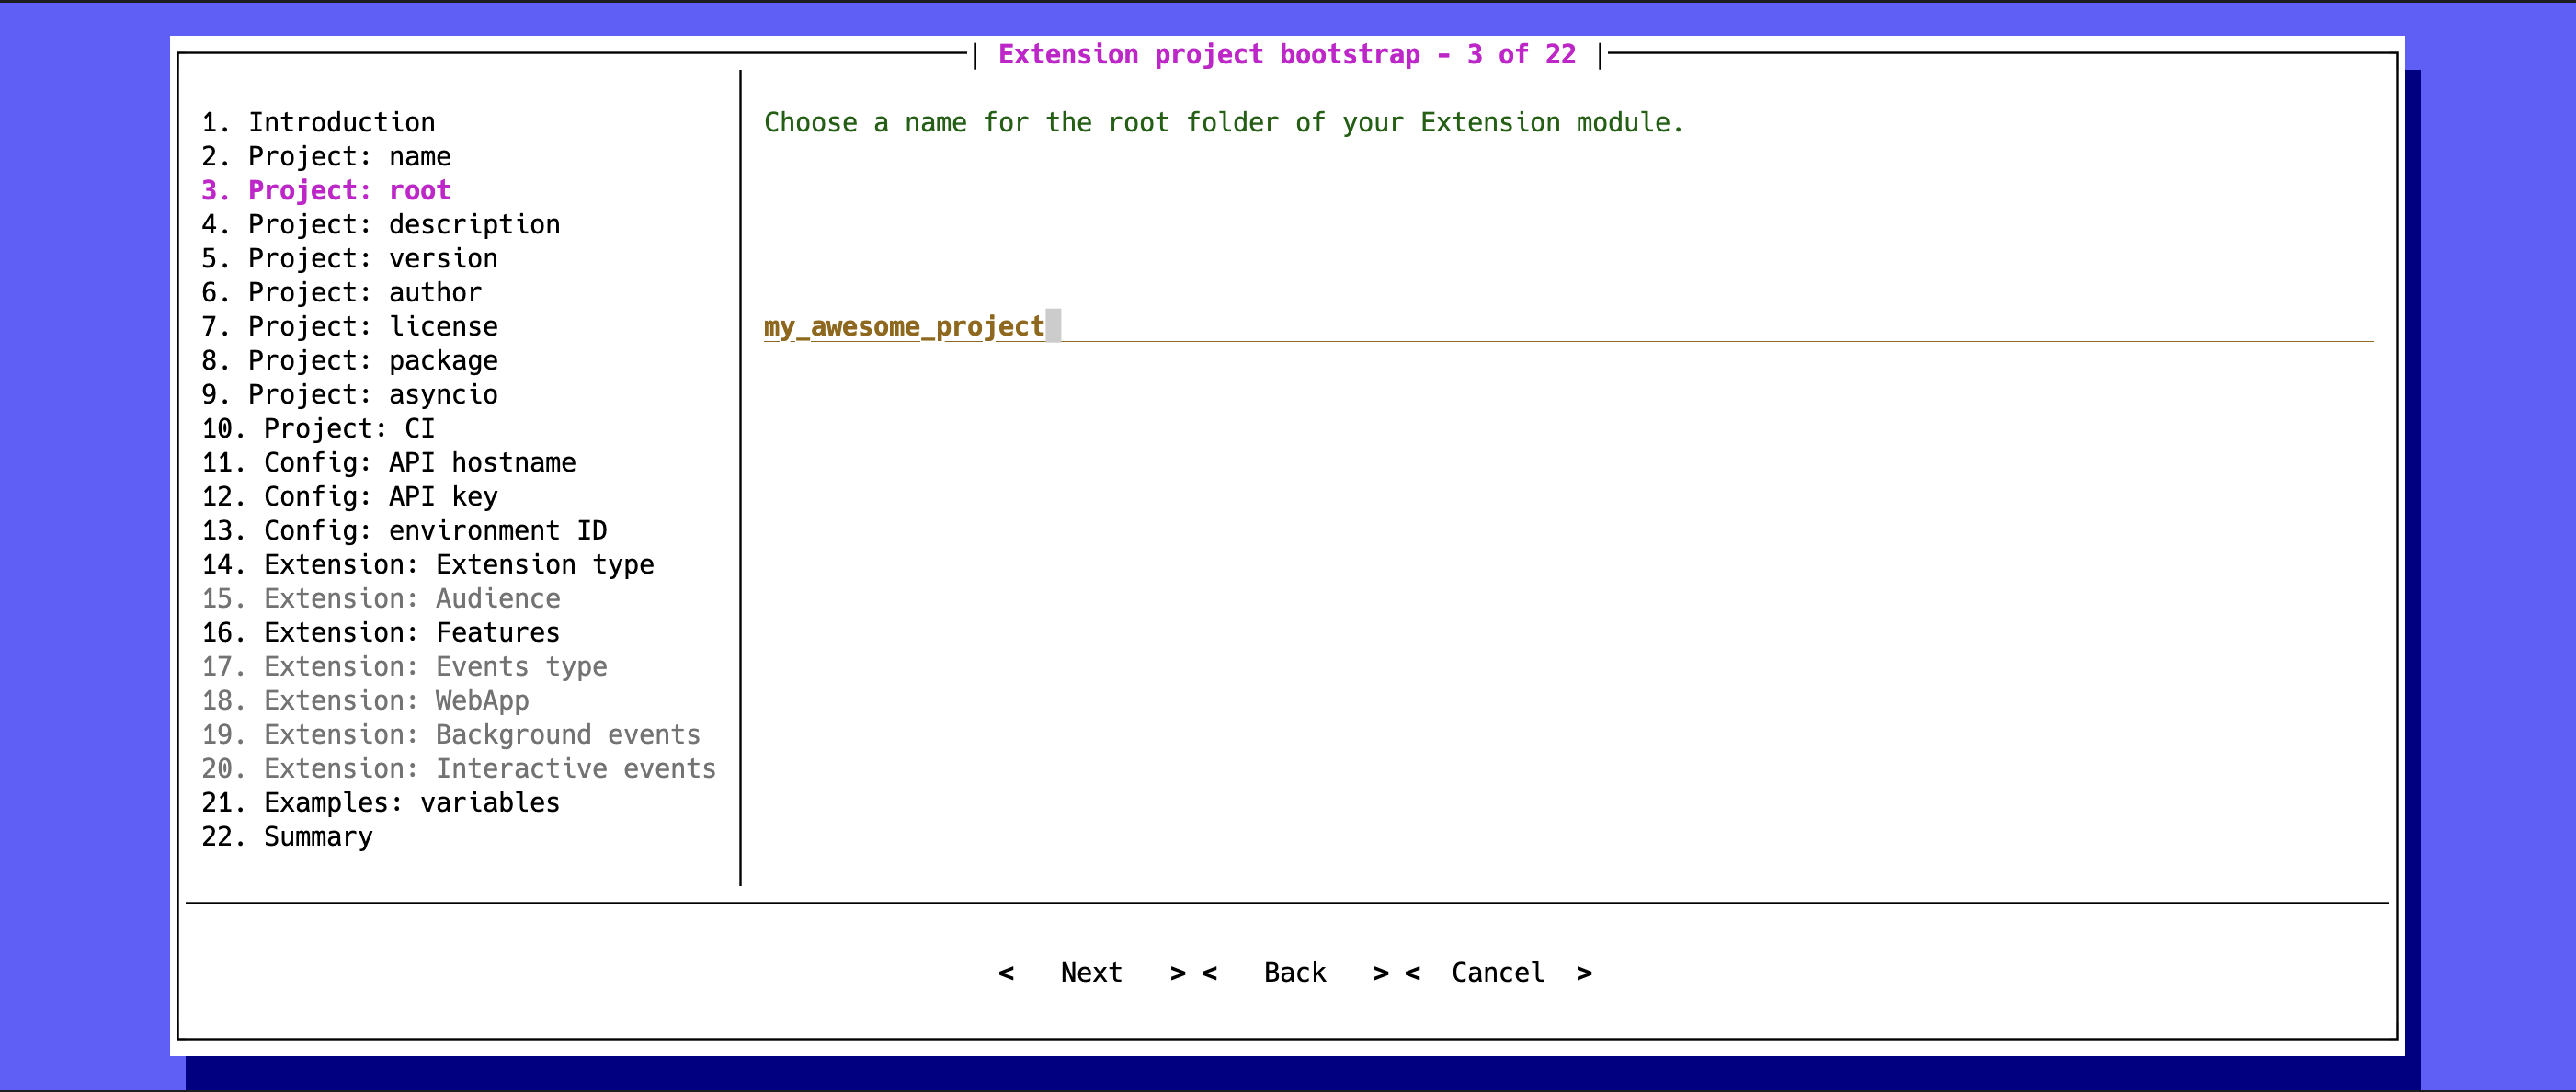
The root folder with all required files will be created once all operations with the wizard are completed.
Describe your extension
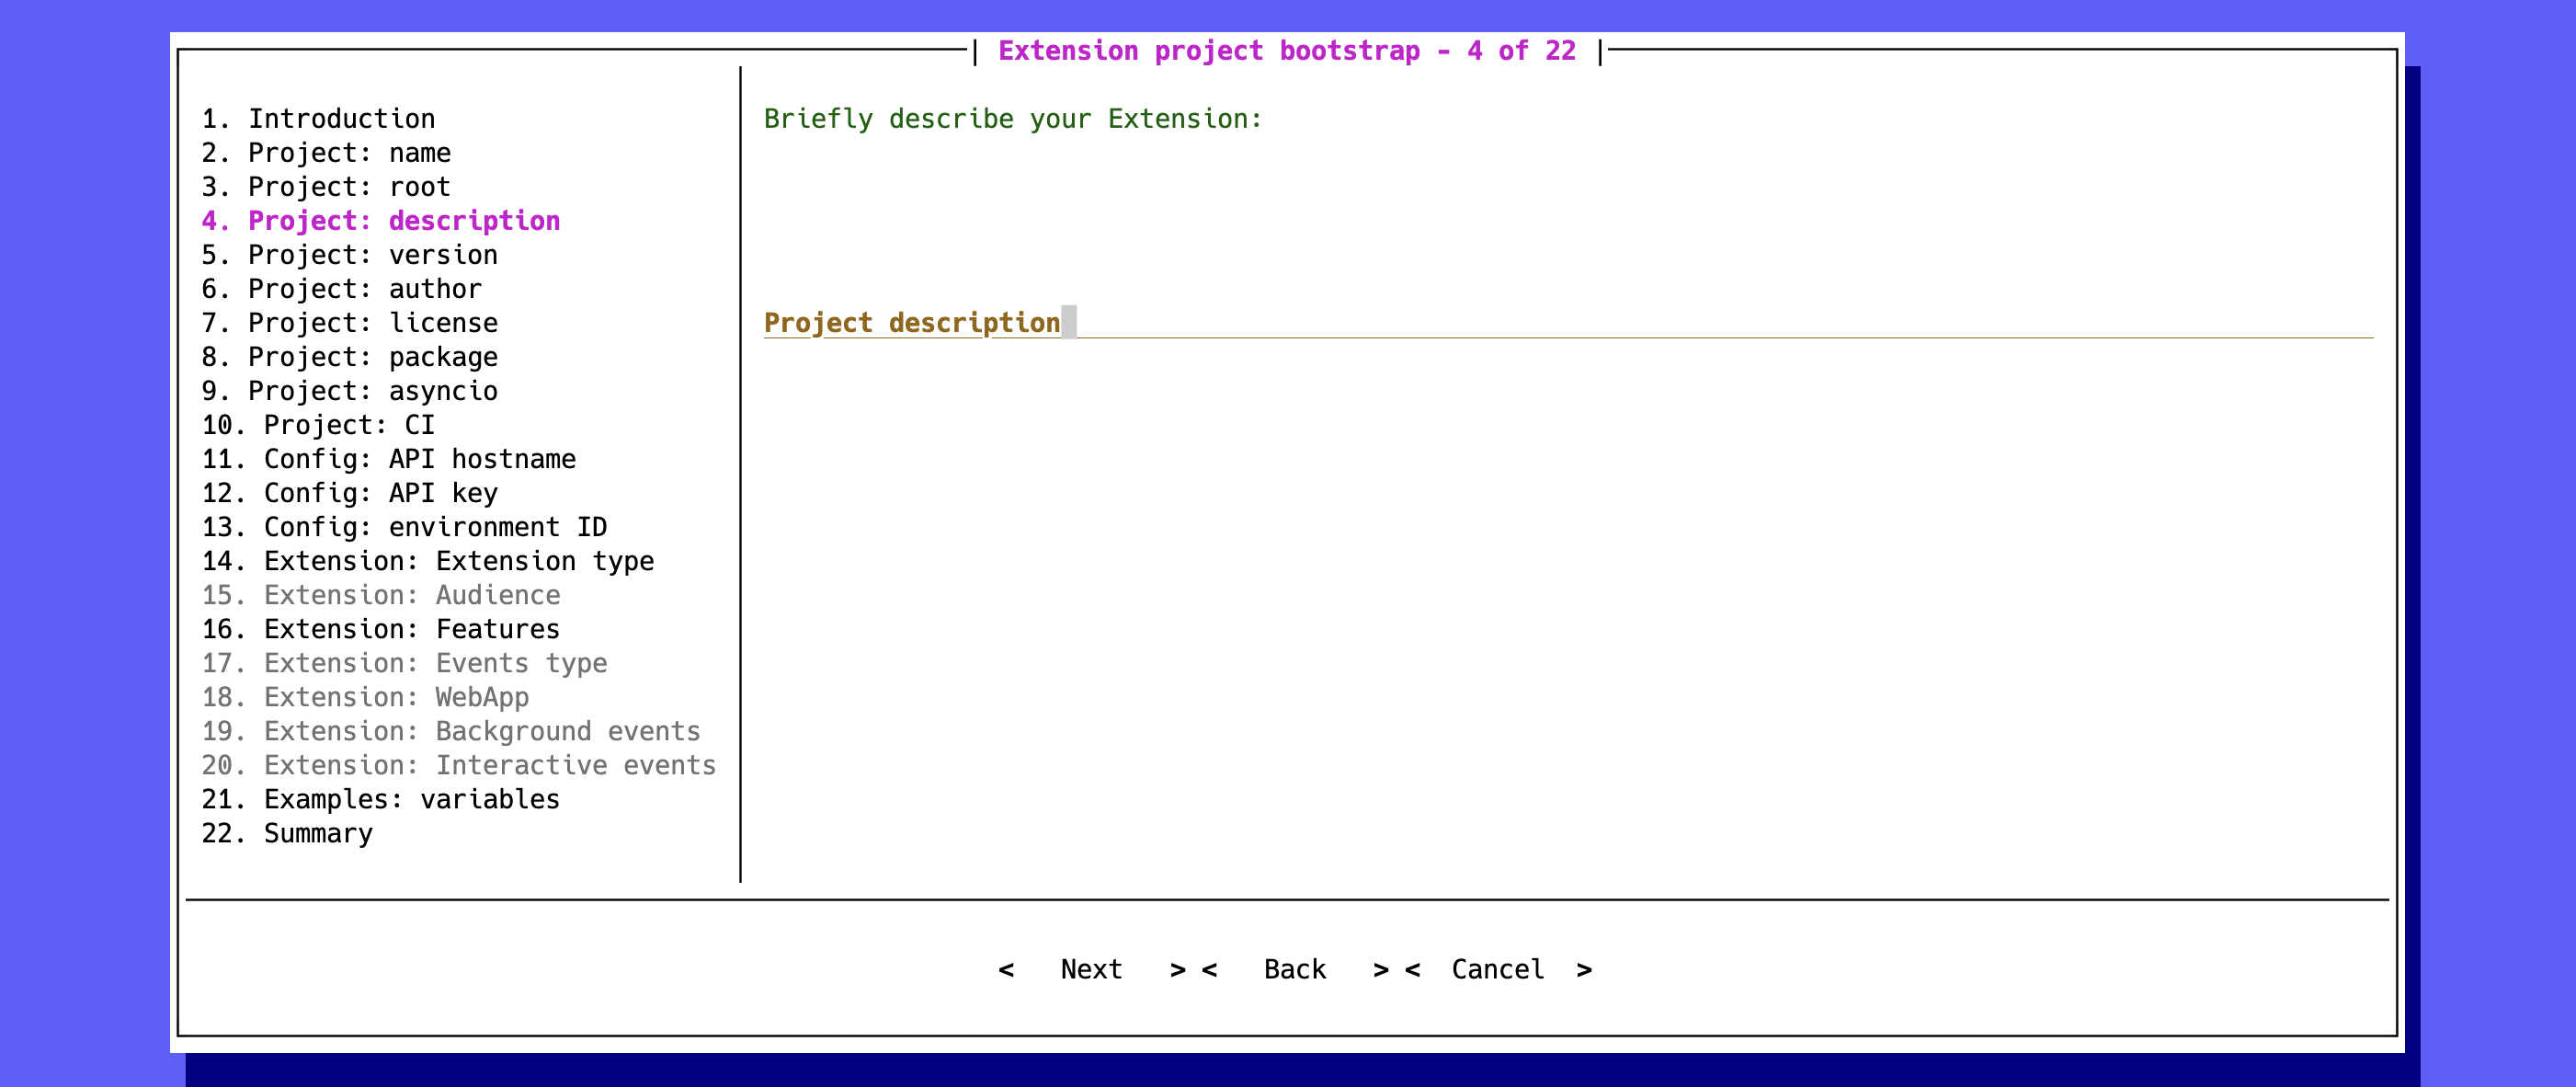
Your provided description will be used to generate a readme file and for packaging metadata.
Set initial version number
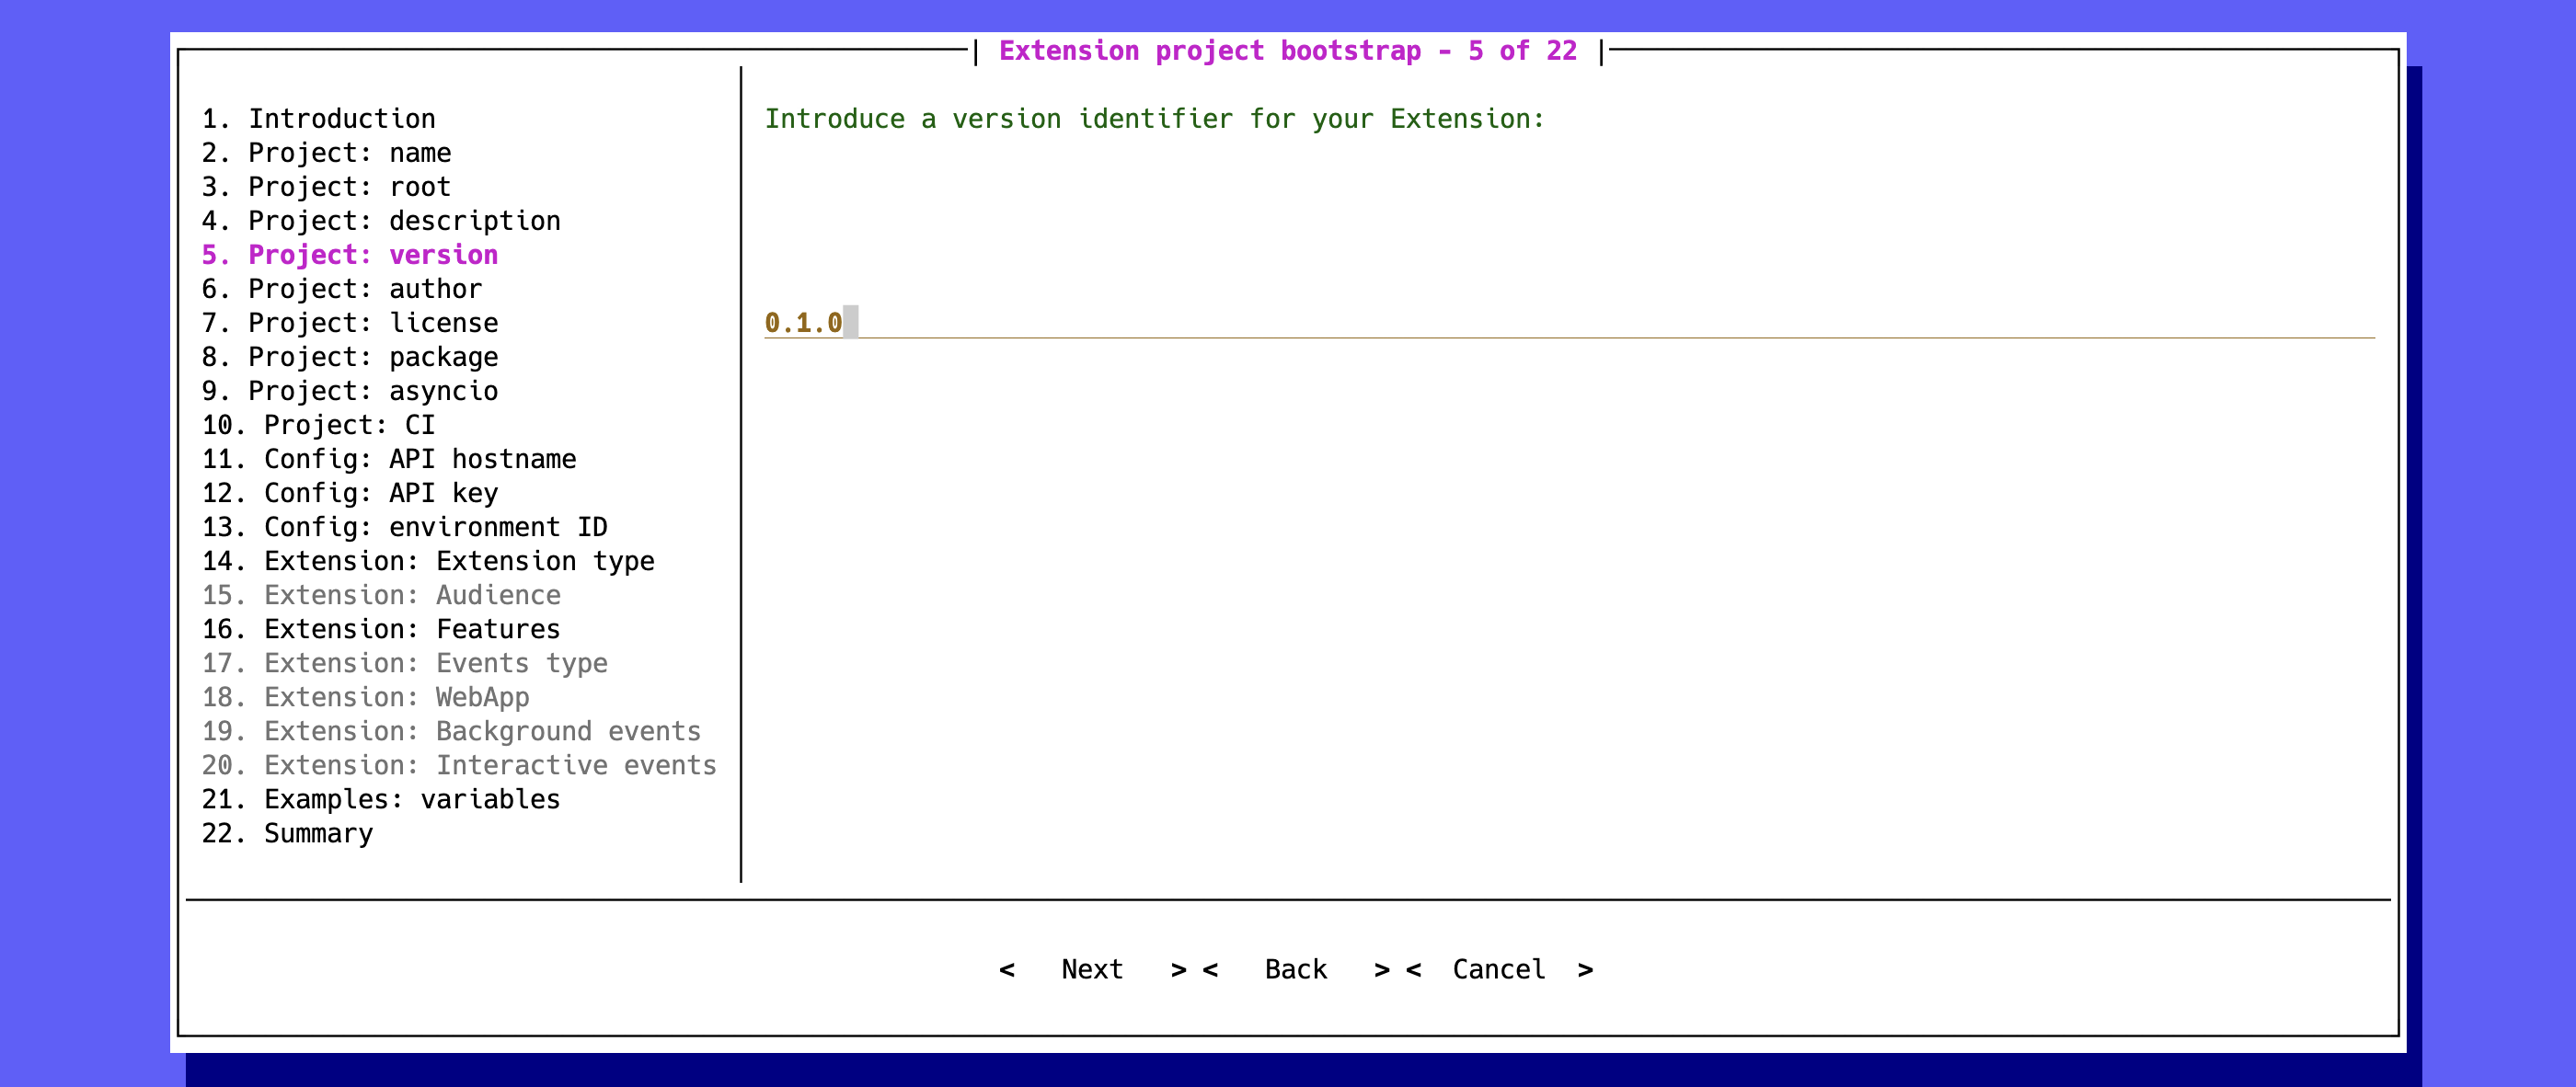
Your provided version is used for packaging metadata.
Provide the author name
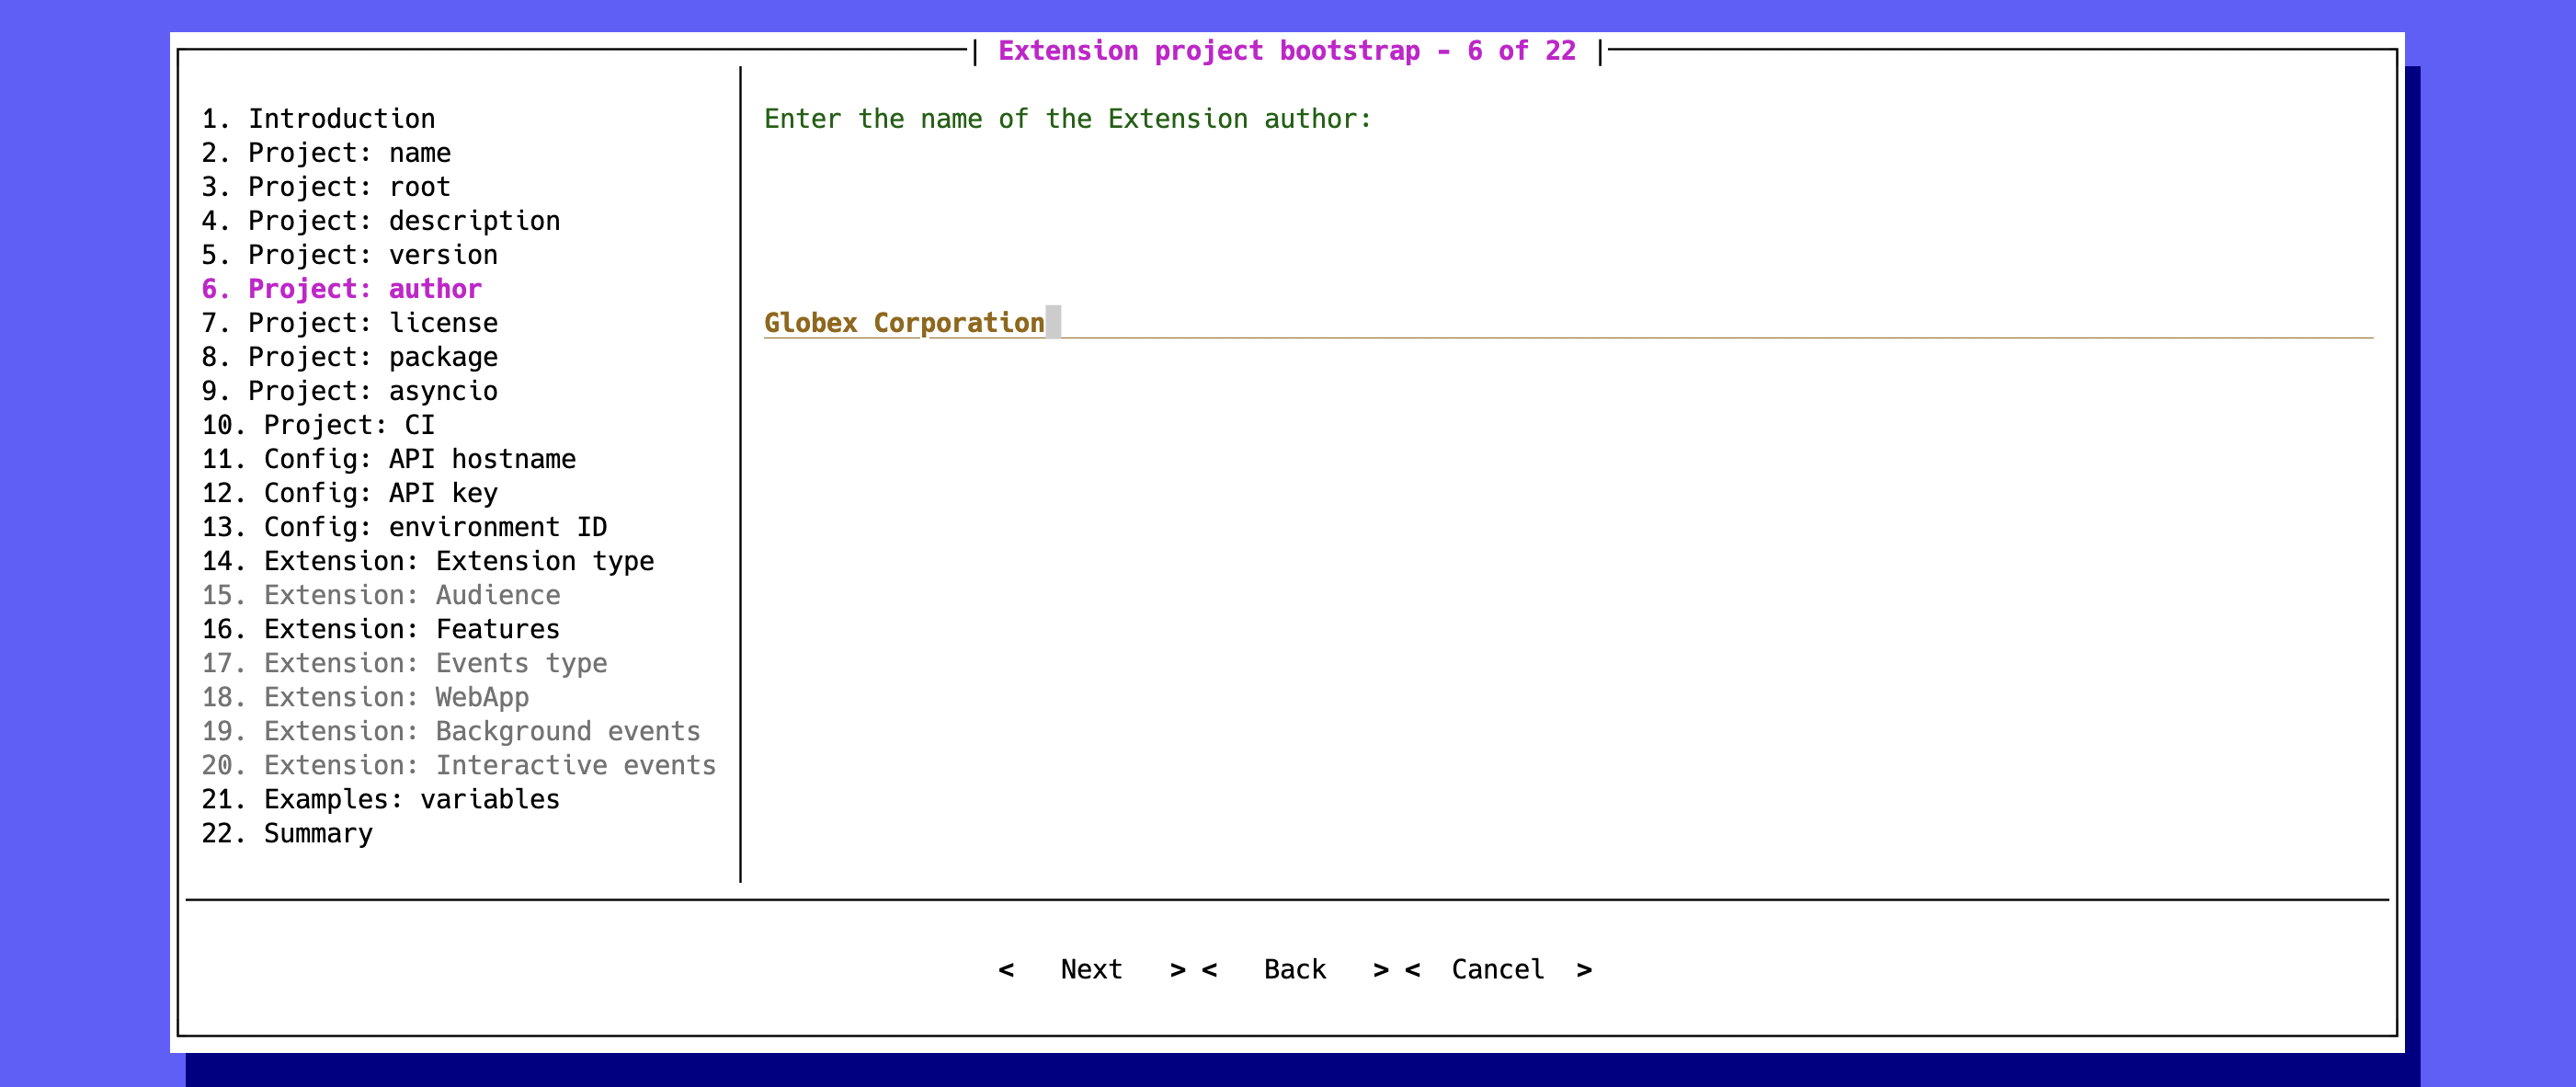
Your provided author name will be used for packaging metadata and to add a copyright header in each generated file.
Choose python package name
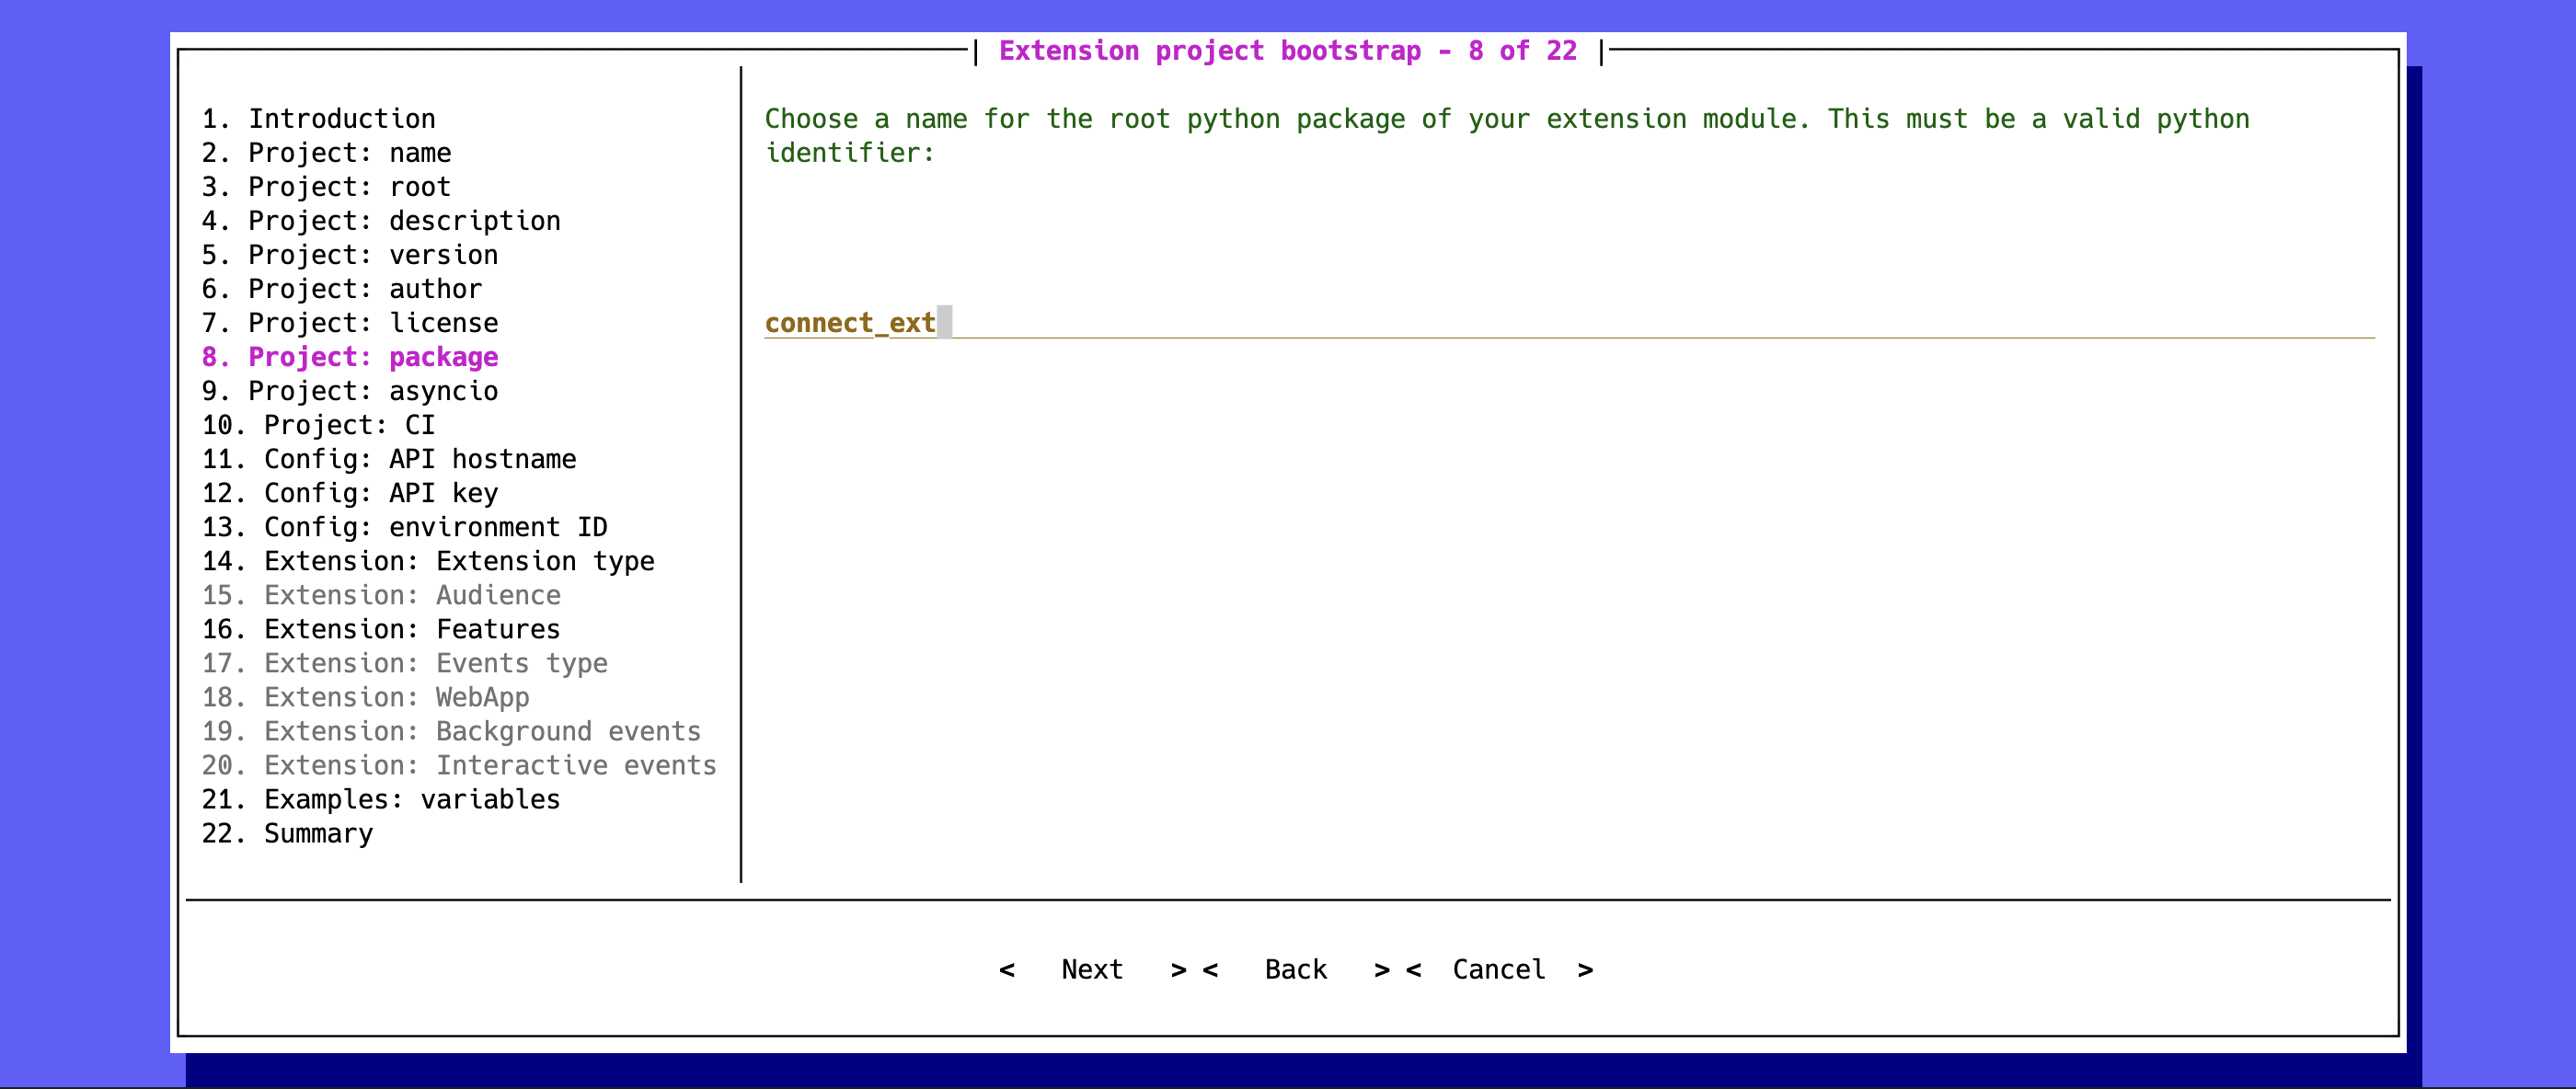
Select a package name for your extension. It must be a valid python identifier (e.g., connect_ext).
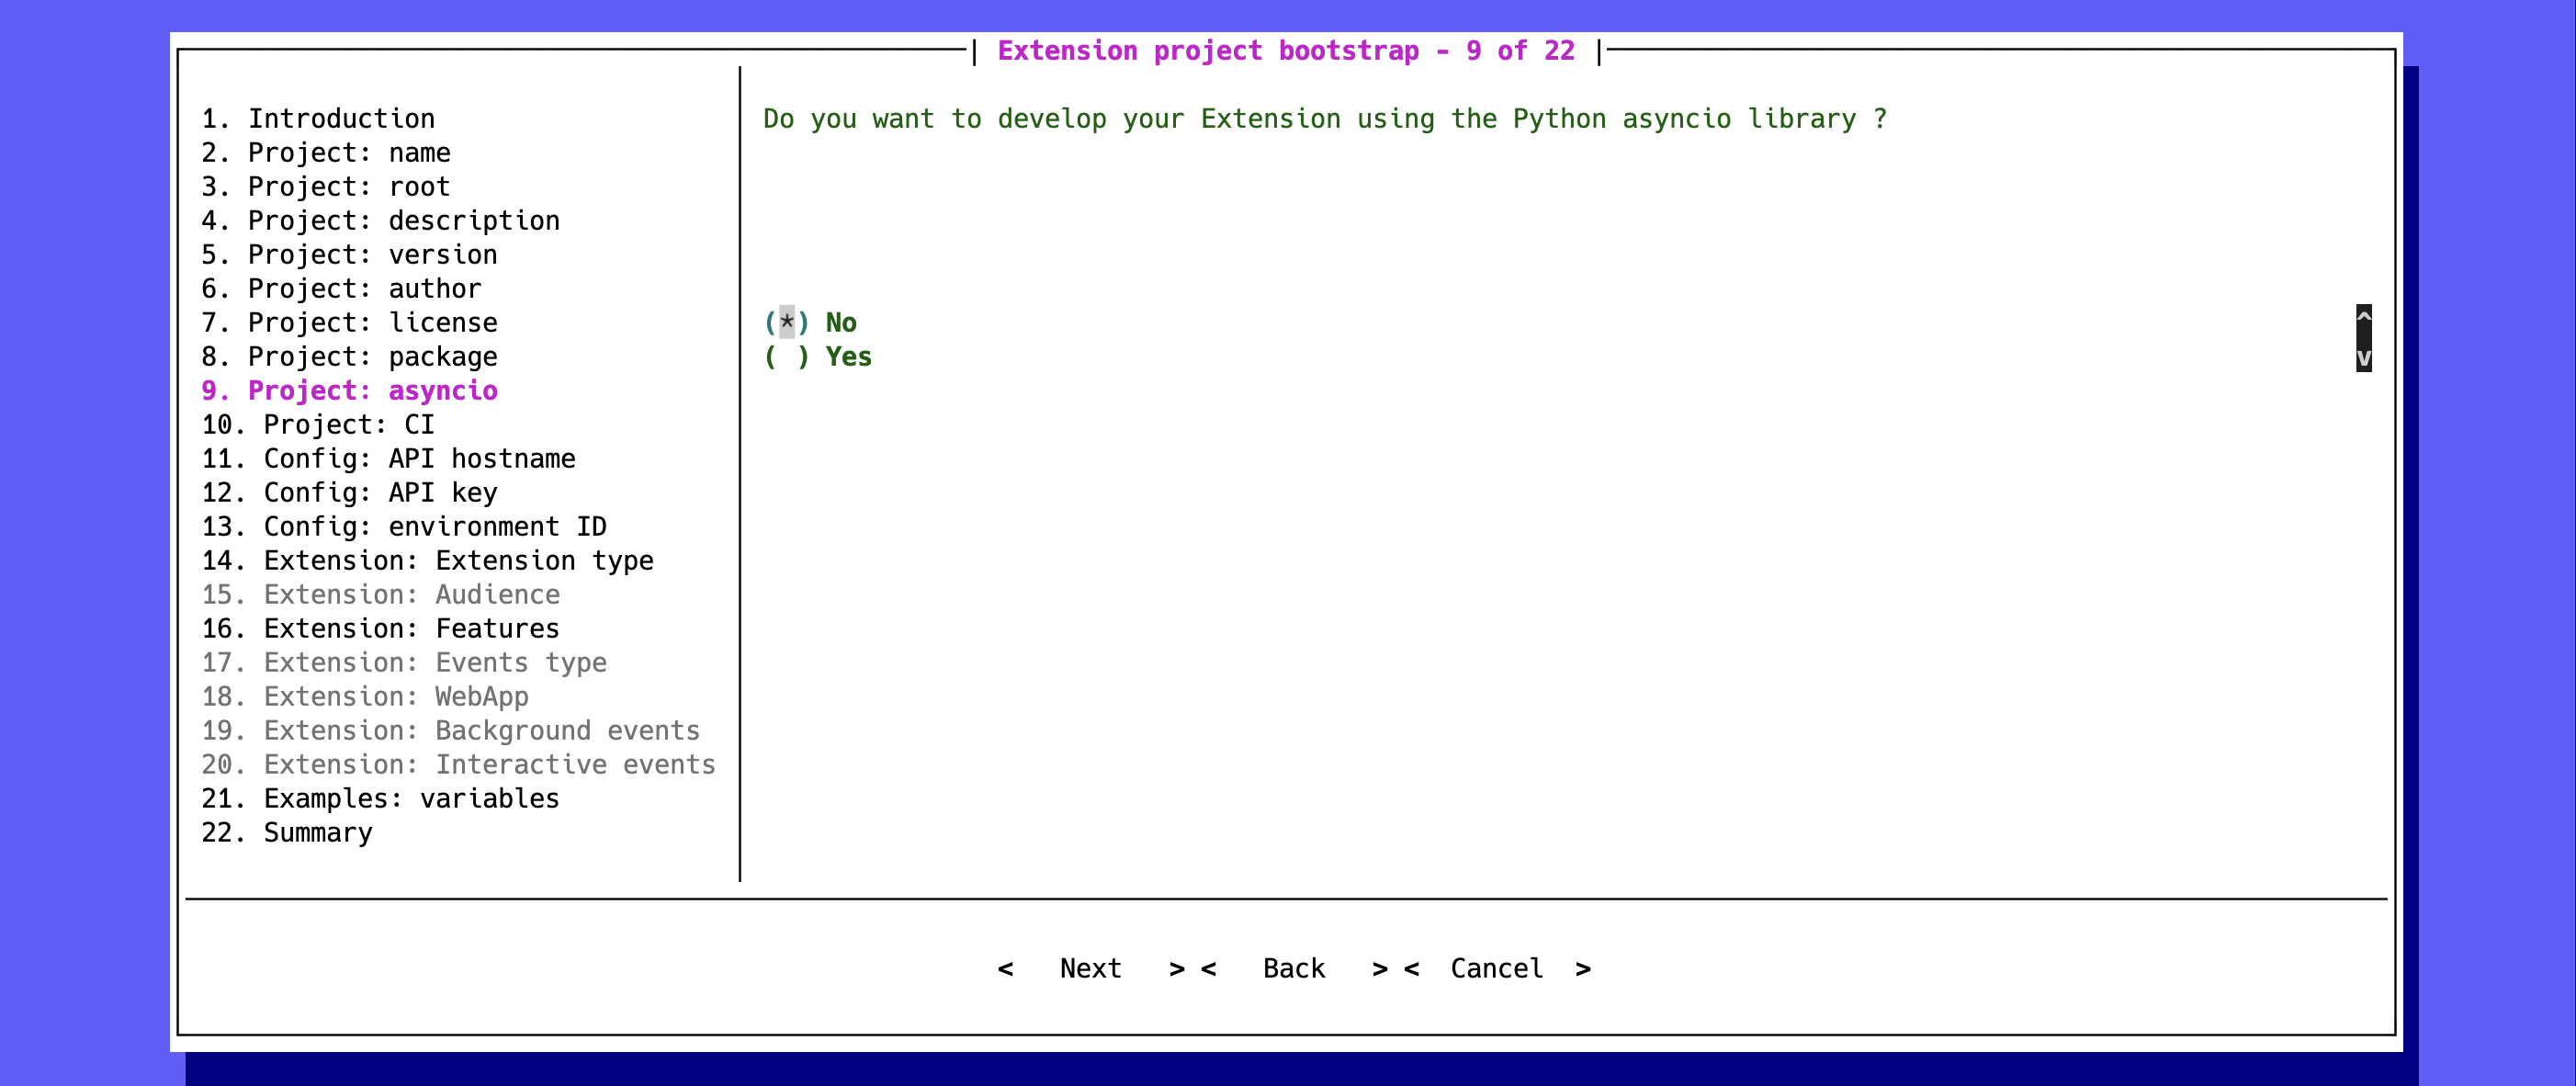
Synchronous or asynchronous programming
In case you are familiar with python asyncio programming, select yes in the following step:
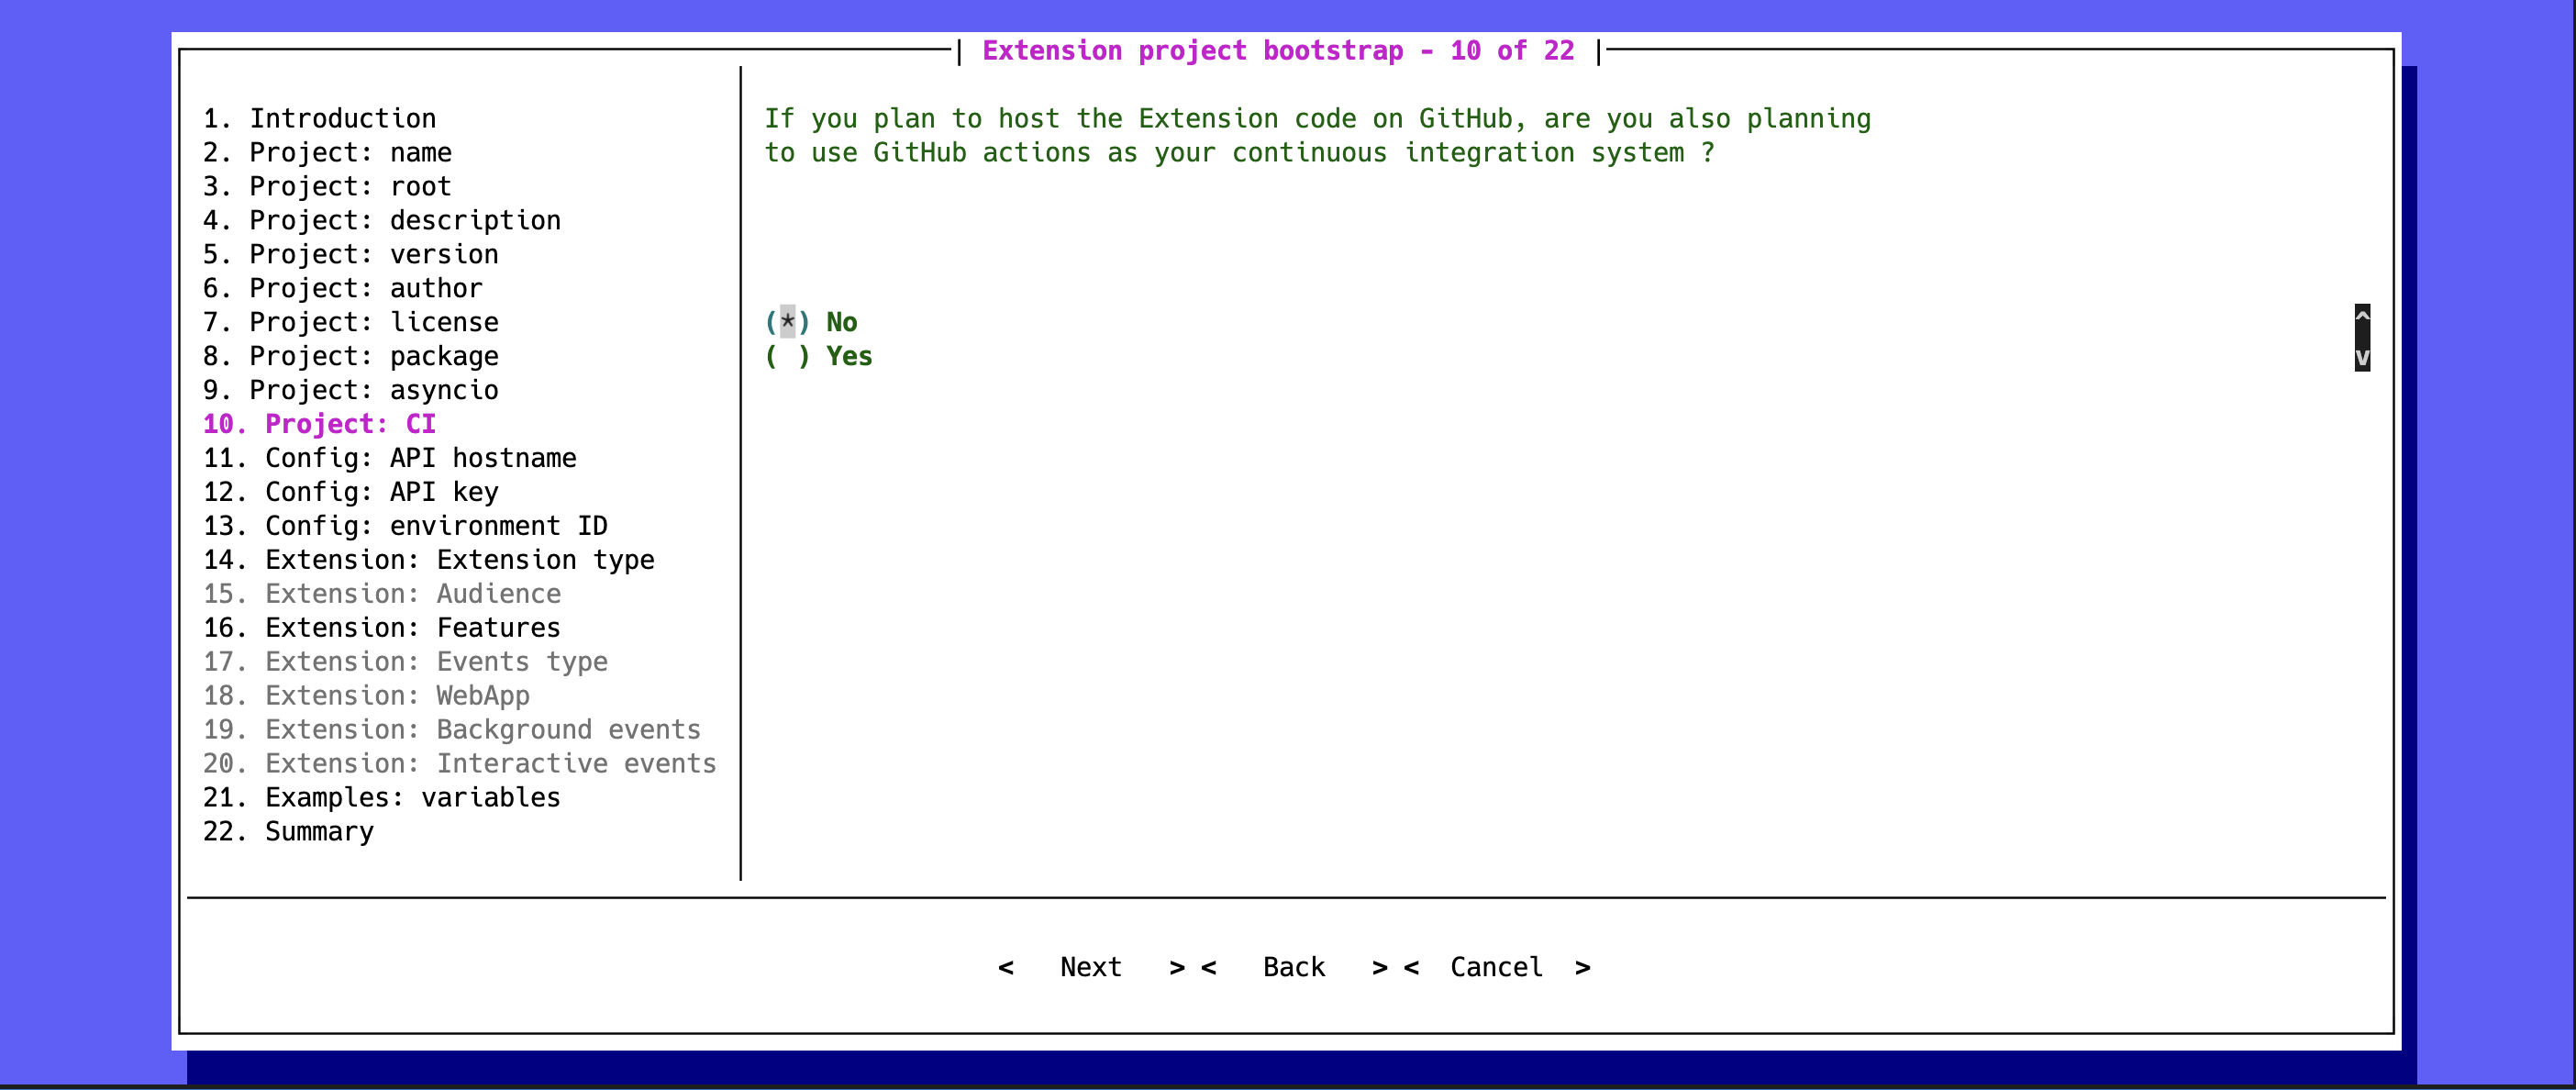
Github actions
If you plan to host your git repository on github.com and you want to automate the
continuous integration of your project, select yes in the following step and an actions workflow file
will be created for you:
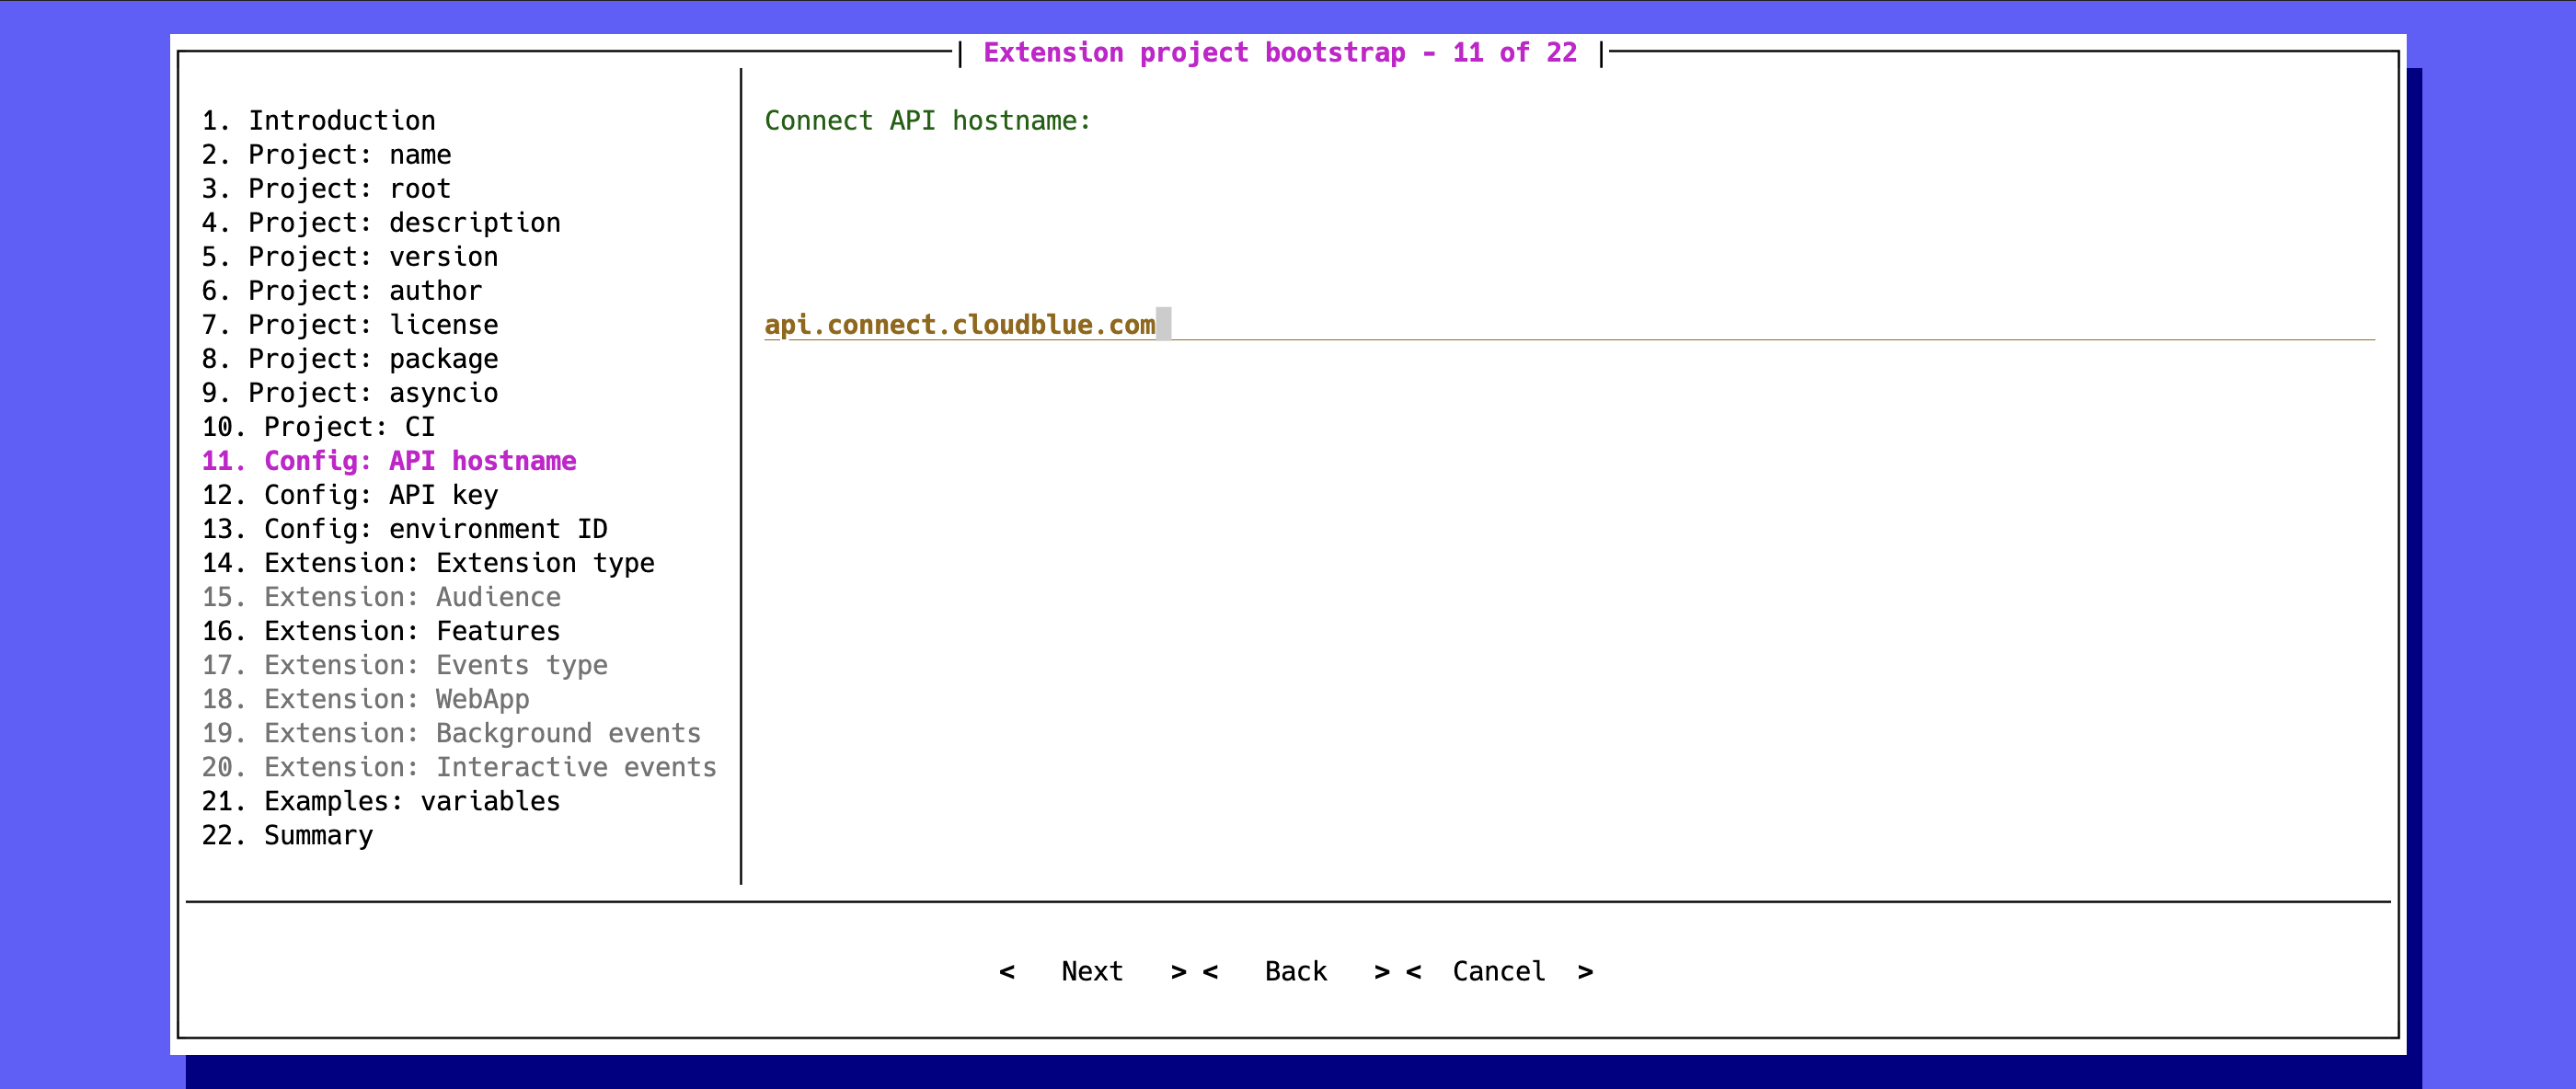
Api Hostname
The wizard will propose to use a hostname of the Connect production environment by default:
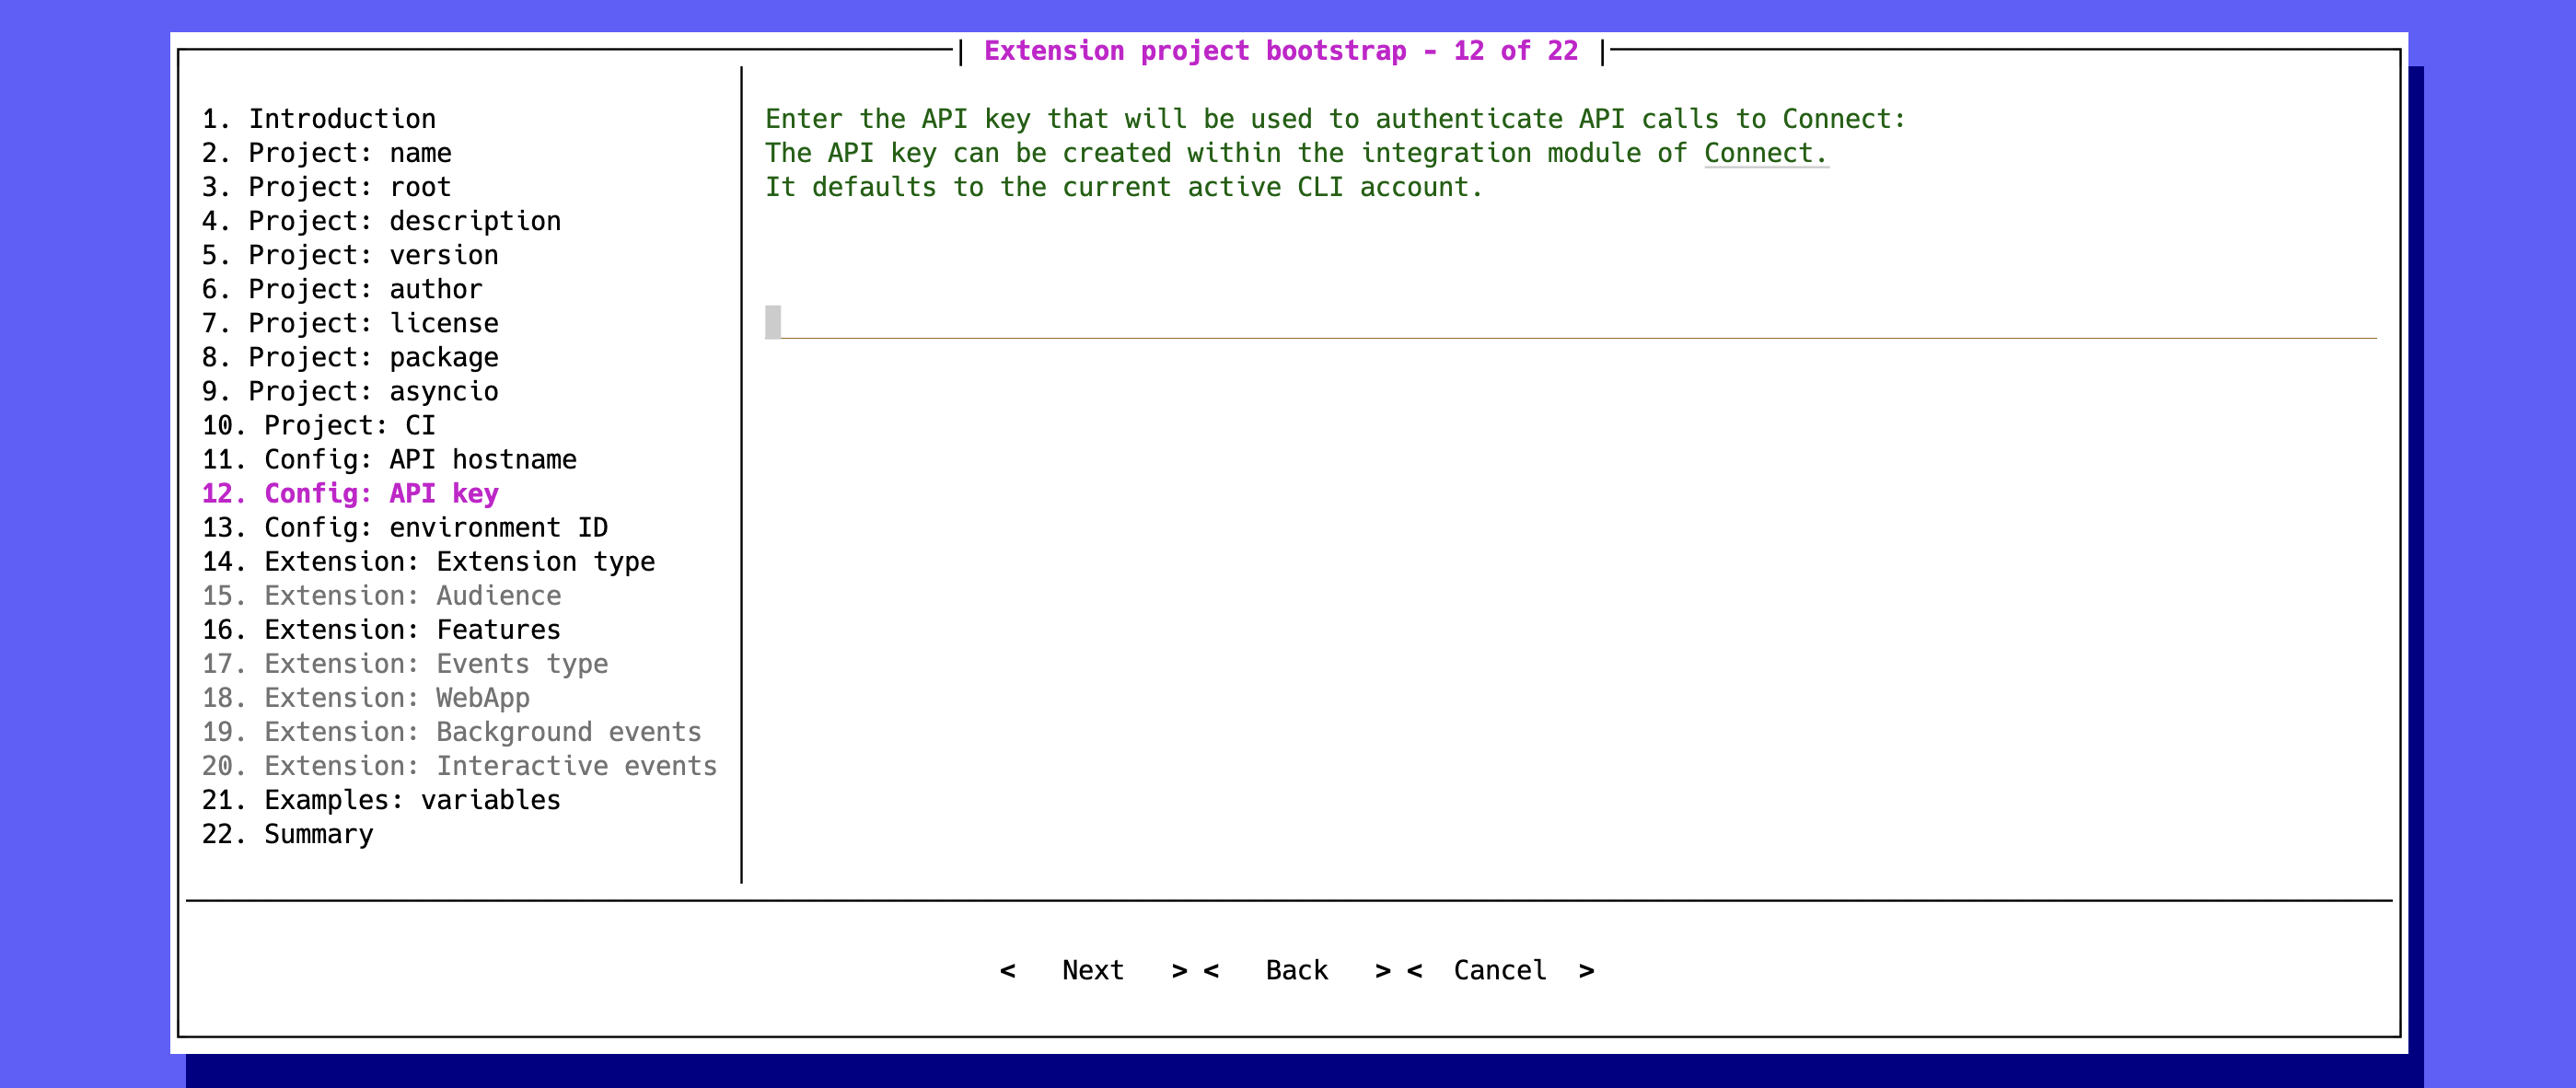
Api Key
The wizard will propose to use the same Api Key that is configured for your vendor/distributor/reseller account:
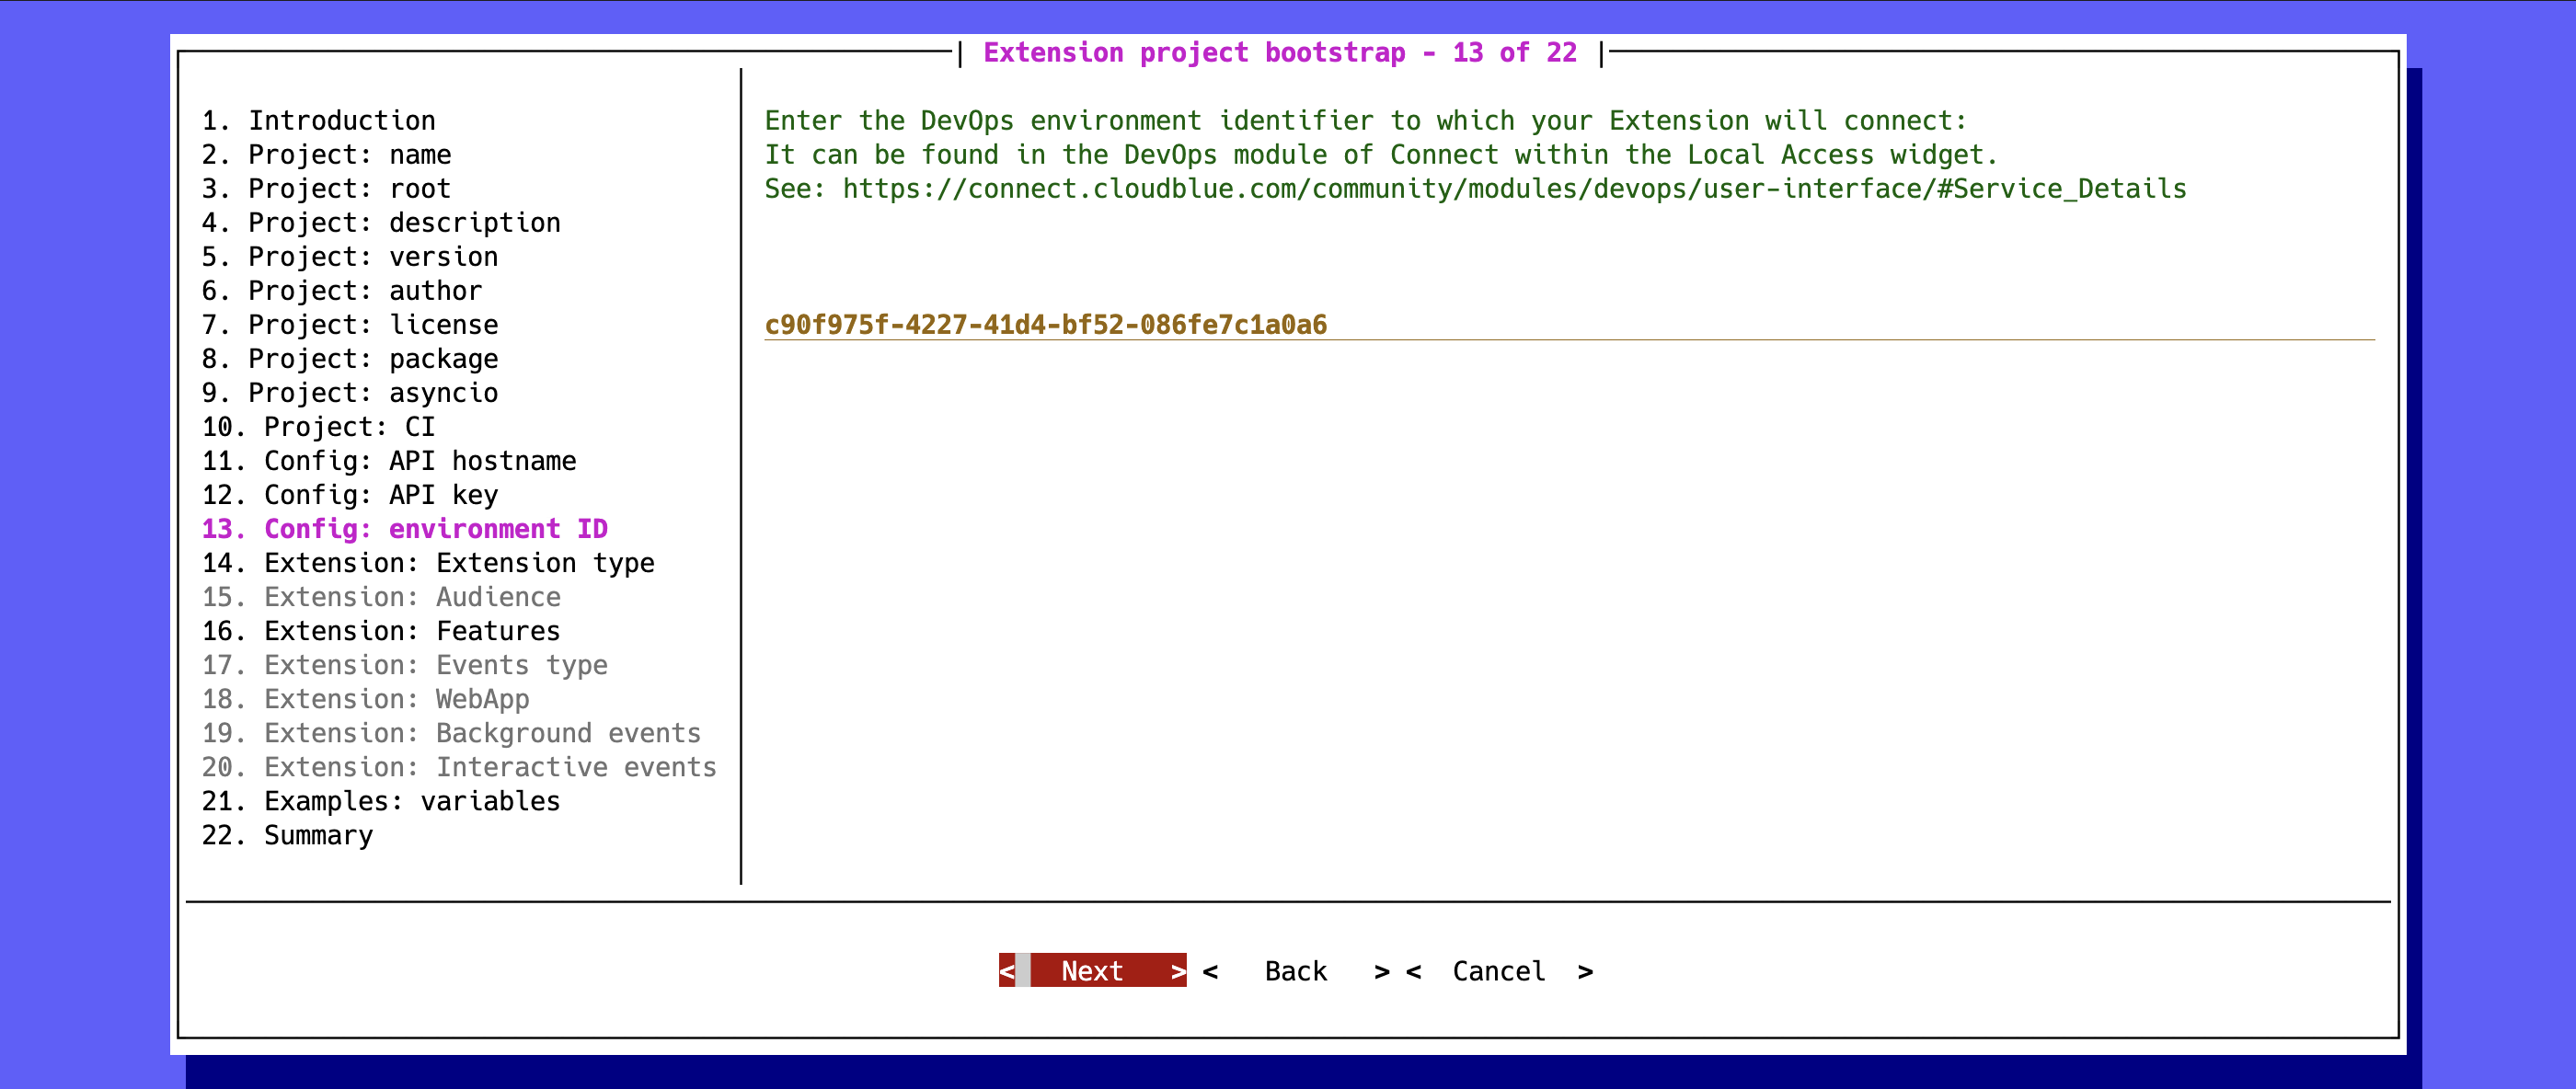
Environment ID
Use your copied environment ID value from the Local Access widget of the details screen:
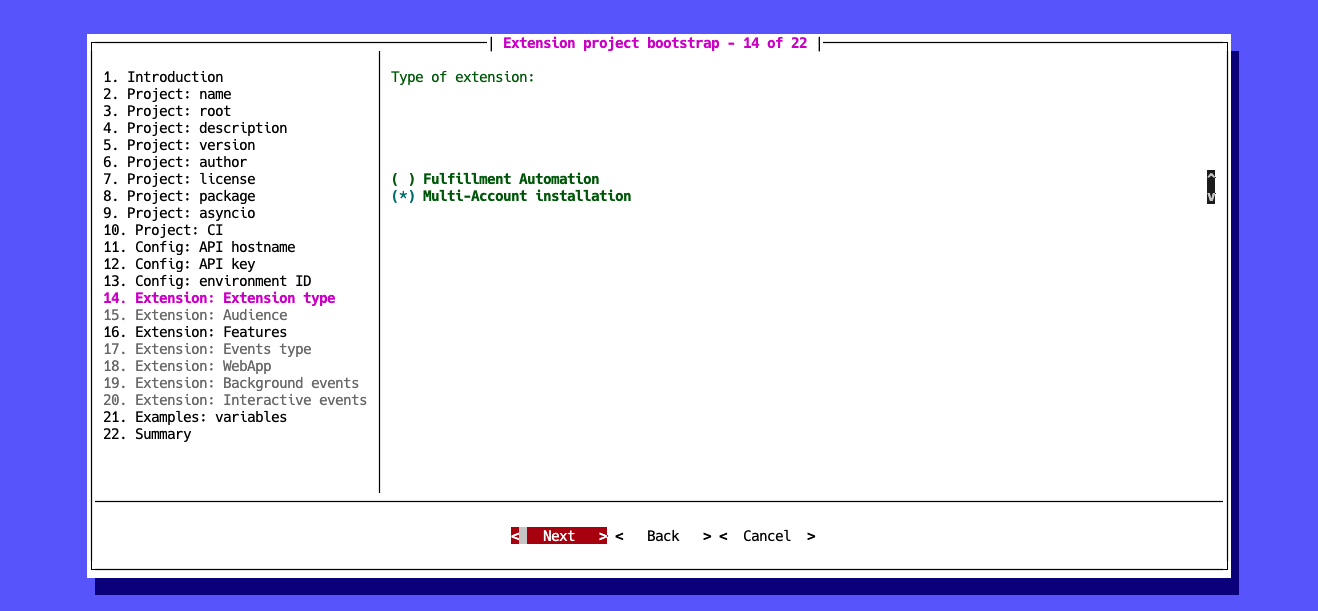
Extension type
Select Multi-Account Installation for this scenario:
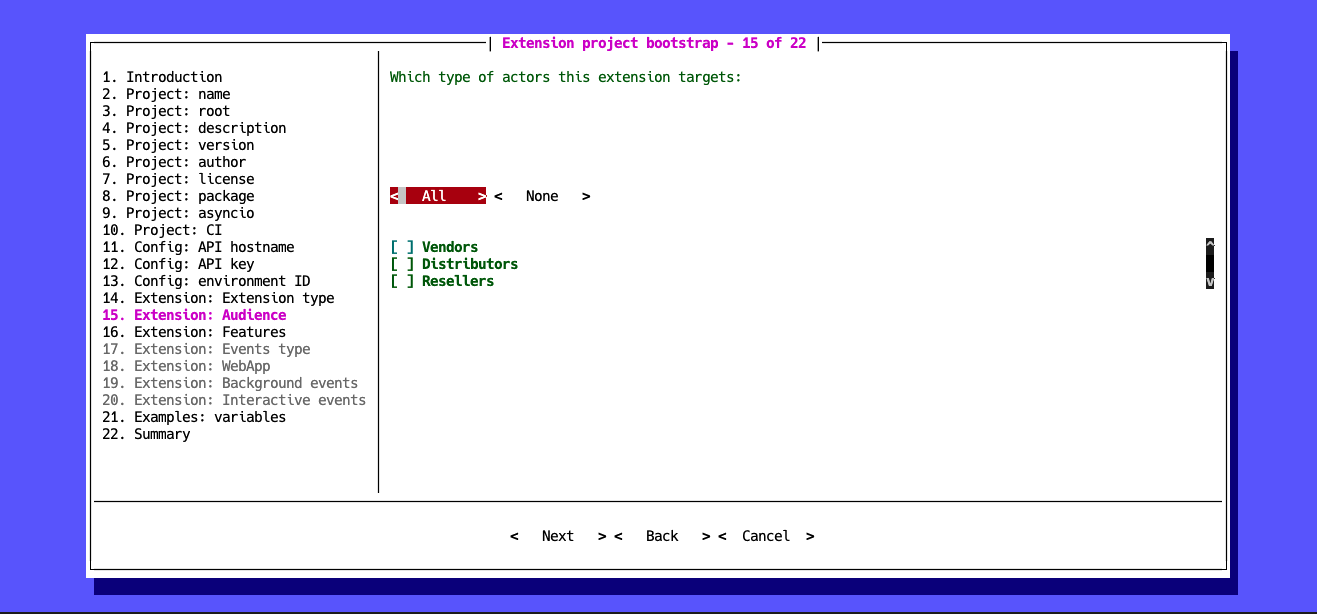
Extension audience
Specify account roles on Connect that can use your extension:
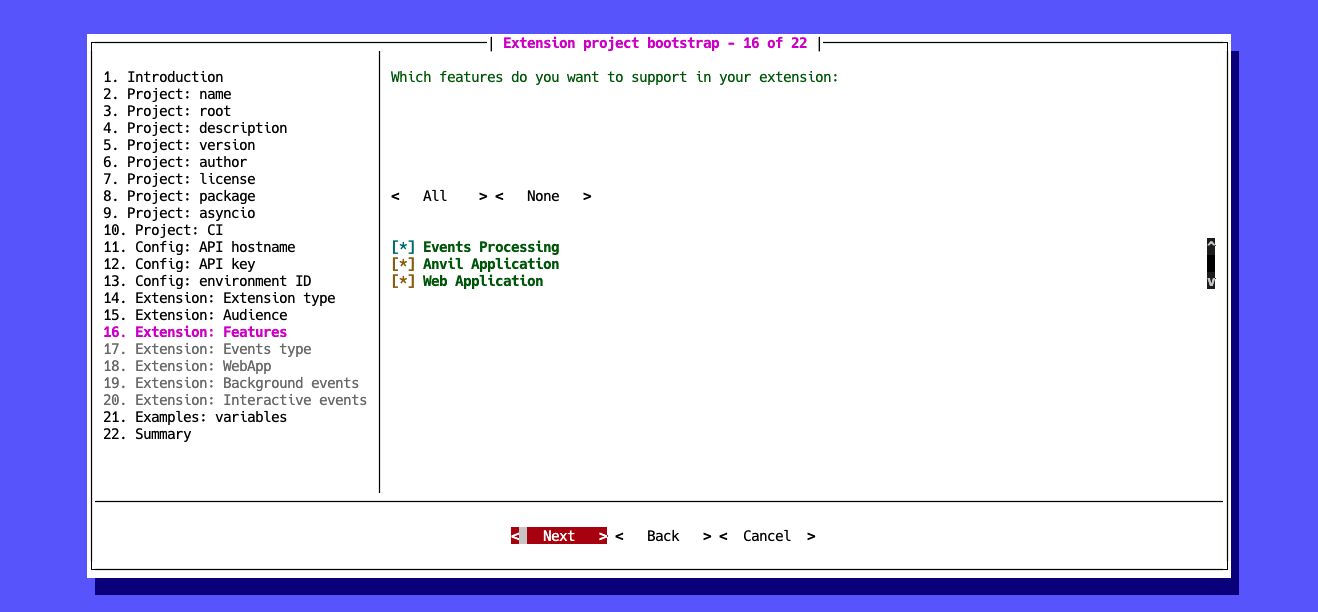
Extension features
Choose all the application types for this scenario:
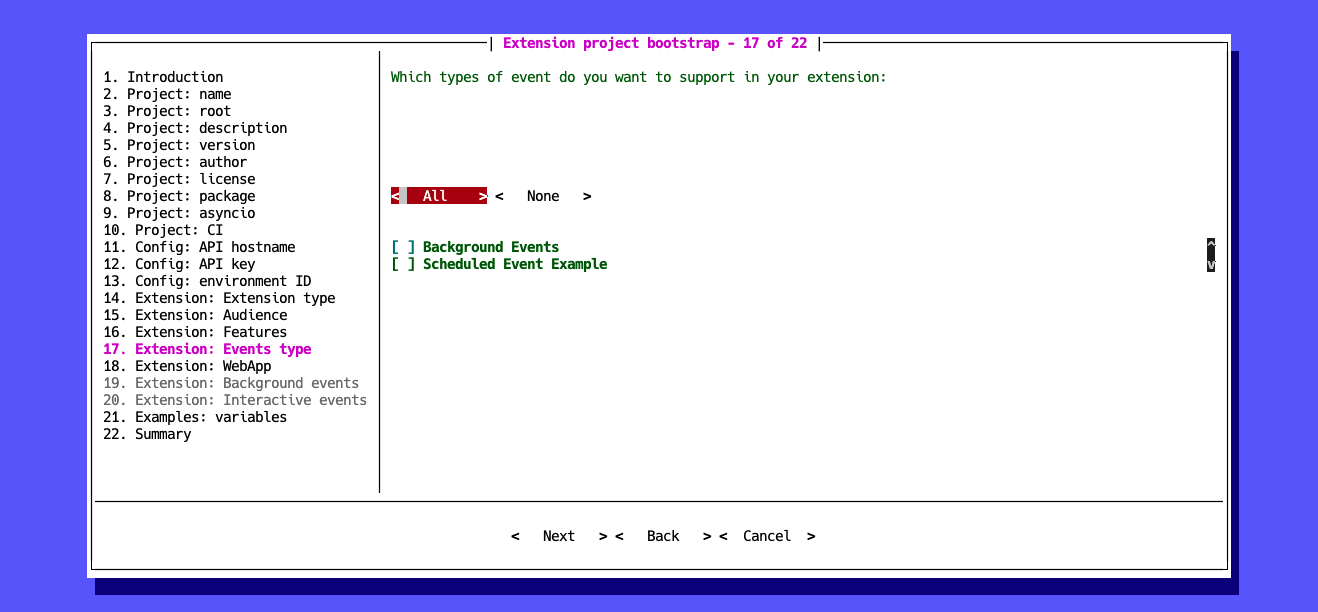
Event categories
Select categories of events you want to handle:
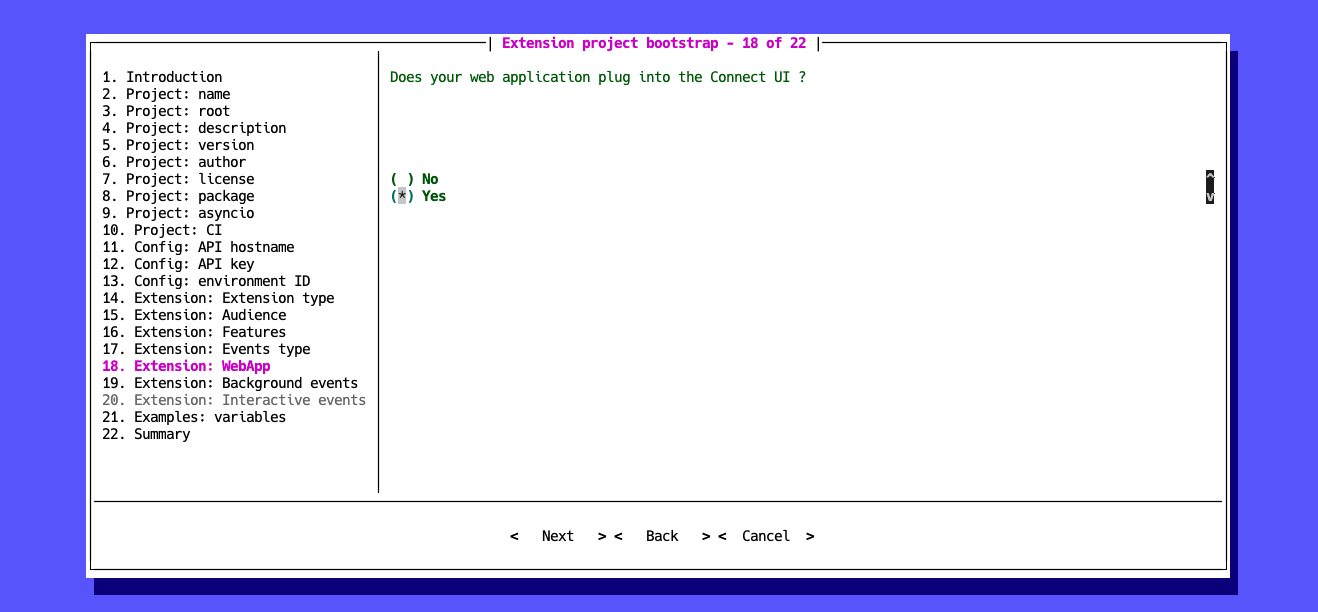
UI embedding support
Choose yes in case you plan to create a user interface for your extension:
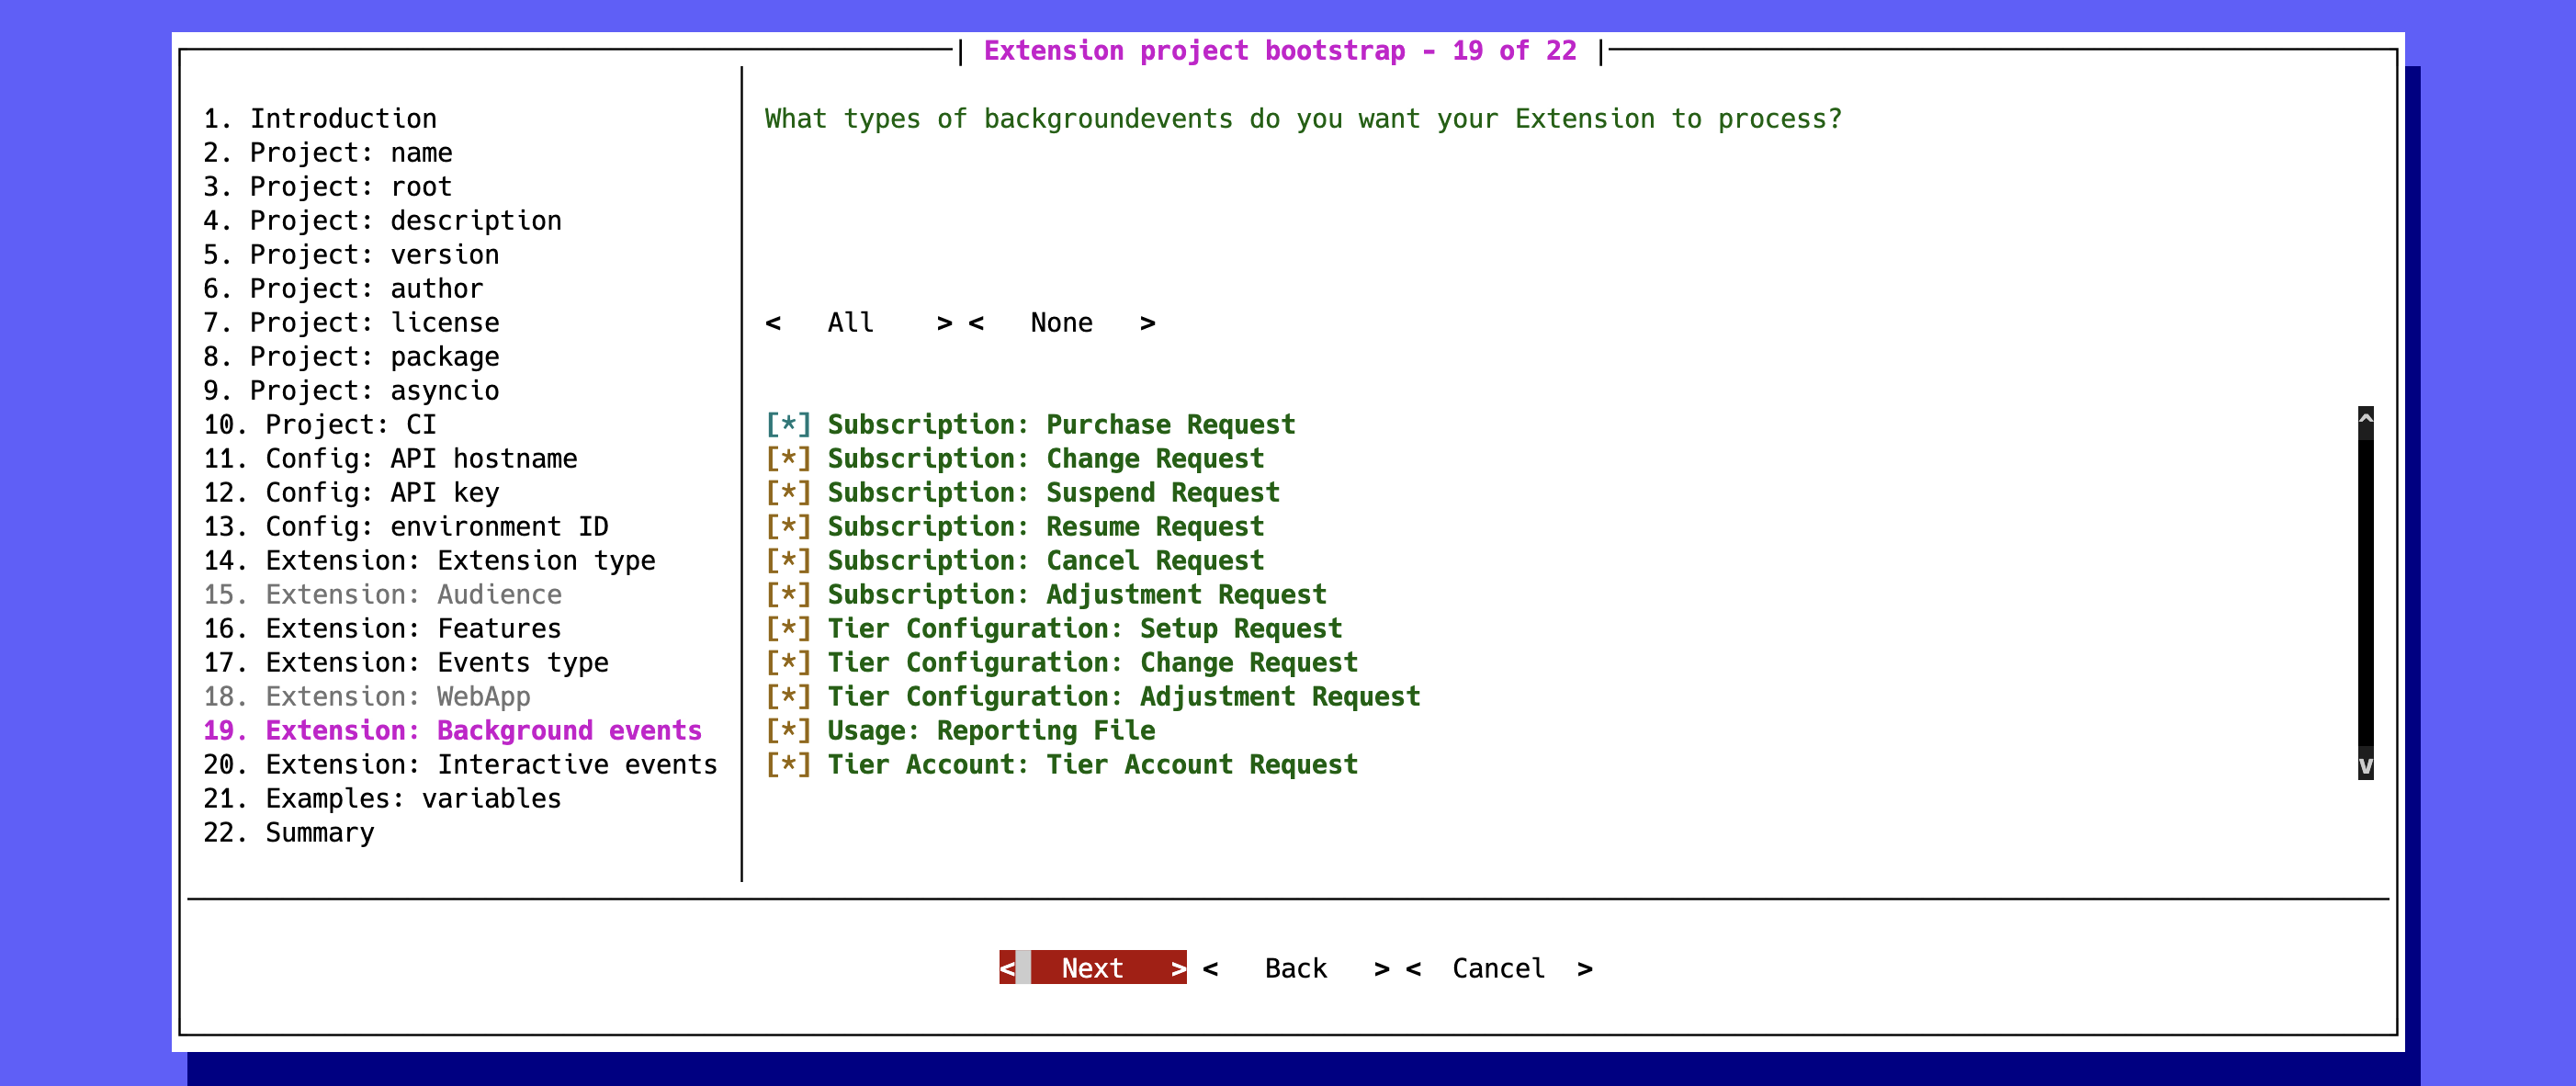
Background events
Specify your required background events:
Environment variables
In case your extension should use environment variables, choose yes to
generate example environment variables:

Summary
As a result, the wizard will provide a summary with your selected options:
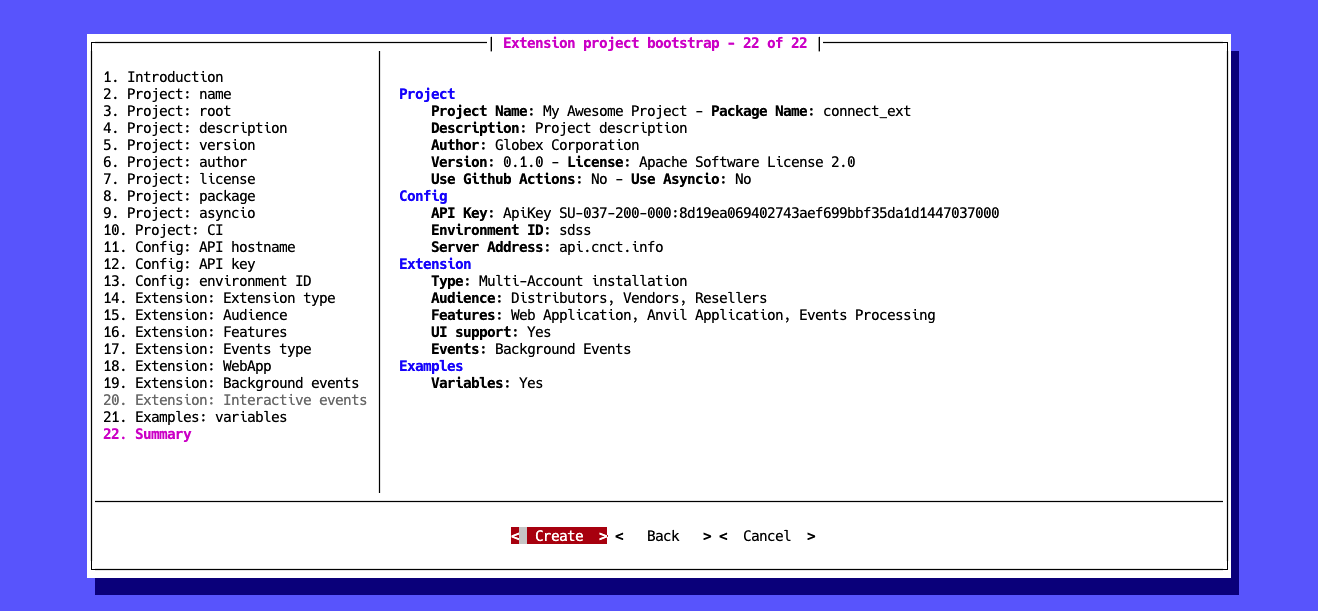
Select Create and press Enter to generate your extension project.
In order to run your extension locally, it is required to build a docker image for your extension.
Go to your generated project folder and run:
$ docker compose build
Thereafter, use the following command to execute your extension:
$ docker compose up <your_extension_slug>_dev
Congratulations
Go to your extension details page via the Connect UI DevOps module and
click the button to see your extension up and running!